Updated July 15, 2023
A recreational vehicle (RV) bill of sale outlines a transaction between a buyer and seller involving the exchange of an RV for cash or trade. The Vehicle Identification Number (VIN) must be entered on the title of the vehicle as a requirement. The buyer and seller should complete the financial agreement in the bill of sale which will state:
- The agreed-upon price to be paid for the RV;
- If there will be an inspection required; and
- If there is an inspection required by the buyer, will there be a down payment/security deposit made.
Signing: Once the bill of sale is completed it’s recommended to be signed in the presence of a notary public or witness(es).
Types of RV’s: Motorhomes, Campers, Travel Trailers, etc.
When Do I Need an RV Bill of Sale?
A Recreational Vehicle (RV) Bill of Sale is required anytime an RV is sold or transferred between a seller and a buyer. It’s an essential legal sales document that records the sale and is required in most states in order to transfer the title of the vehicle and show proof of ownership.
What’s the Process of Selling an RV?
Now that you know what an RV Bill of Sale is, you probably want to know how to go about selling your RV. Follow our guidelines below to get started.
Step 1 – Have Your RV Sale Ready
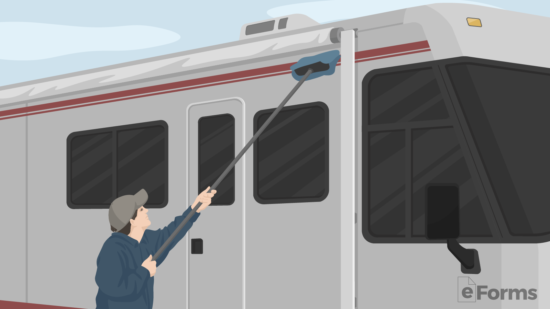
Have your RV cleaned, repaired, and looking like new before taking pictures for advertising. It may be best to hire a professional cleaner or get cleaning supplies to help assist in making the vehicle appear as good as possible. Afterward, take photos with a professional camera or a high-end smartphone to capture the interior and exterior.
Step 2 – Get an Appraisal

If you’re not sure how much your RV is worth, get it appraised by local dealers and compare it online with others like it. This will help give you a healthy range to work with when negotiating the final sale.
Online Appraisal
Step 3 – Decide How to Sell
Do you want to sell to a dealer, advertise it online, use a window sign in a high-traffic street, or a combination of some or all of these? Advertising can be expensive, but reaching the right sellers don’t have to be when you advertise online or via other cheap methods.
Websites to Sell an RV
Step 4 – Negotiate and Gather Paperwork

When a potential buyer comes along and takes a look at the RV, this is typically when the negotiations begin. He or she will ask about the condition it’s in, if there are any repairs needed, and may ask for an inspection from a third (3rd) party mechanic. If other similar RVs are going for the same price, then the buyer will usually understand where the seller is coming from. Once a purchase price and terms are coordinated, the parties can move to a bill of sale.
Step 5 – Complete the Transaction
When the parties have agreed in principle to a deal, it’s now time to facilitate the transaction. The following will be required to be brought to the closing:
Seller’s Responsibilities
- RV
- Certificate of Title
- Current or Past Registration Documents
Buyer’s Responsibilities
- Bring Funds ($) – Common methods of payment include cash, check (not recommended), certified check, cashier’s check, money order, or other verified payment such as a wire.
Step 6 – Signing the RV Bill of Sale
After the parties have brought their respective items to the closing they should sign the RV Bill of Sale. It is recommended that each party take a copy or a photo of the other’s driver’s license to ensure the individuals are who they claim to be.
How to Write
Download: Adobe PDF, Microsoft Word (.docx), Open Document Text (.odt)
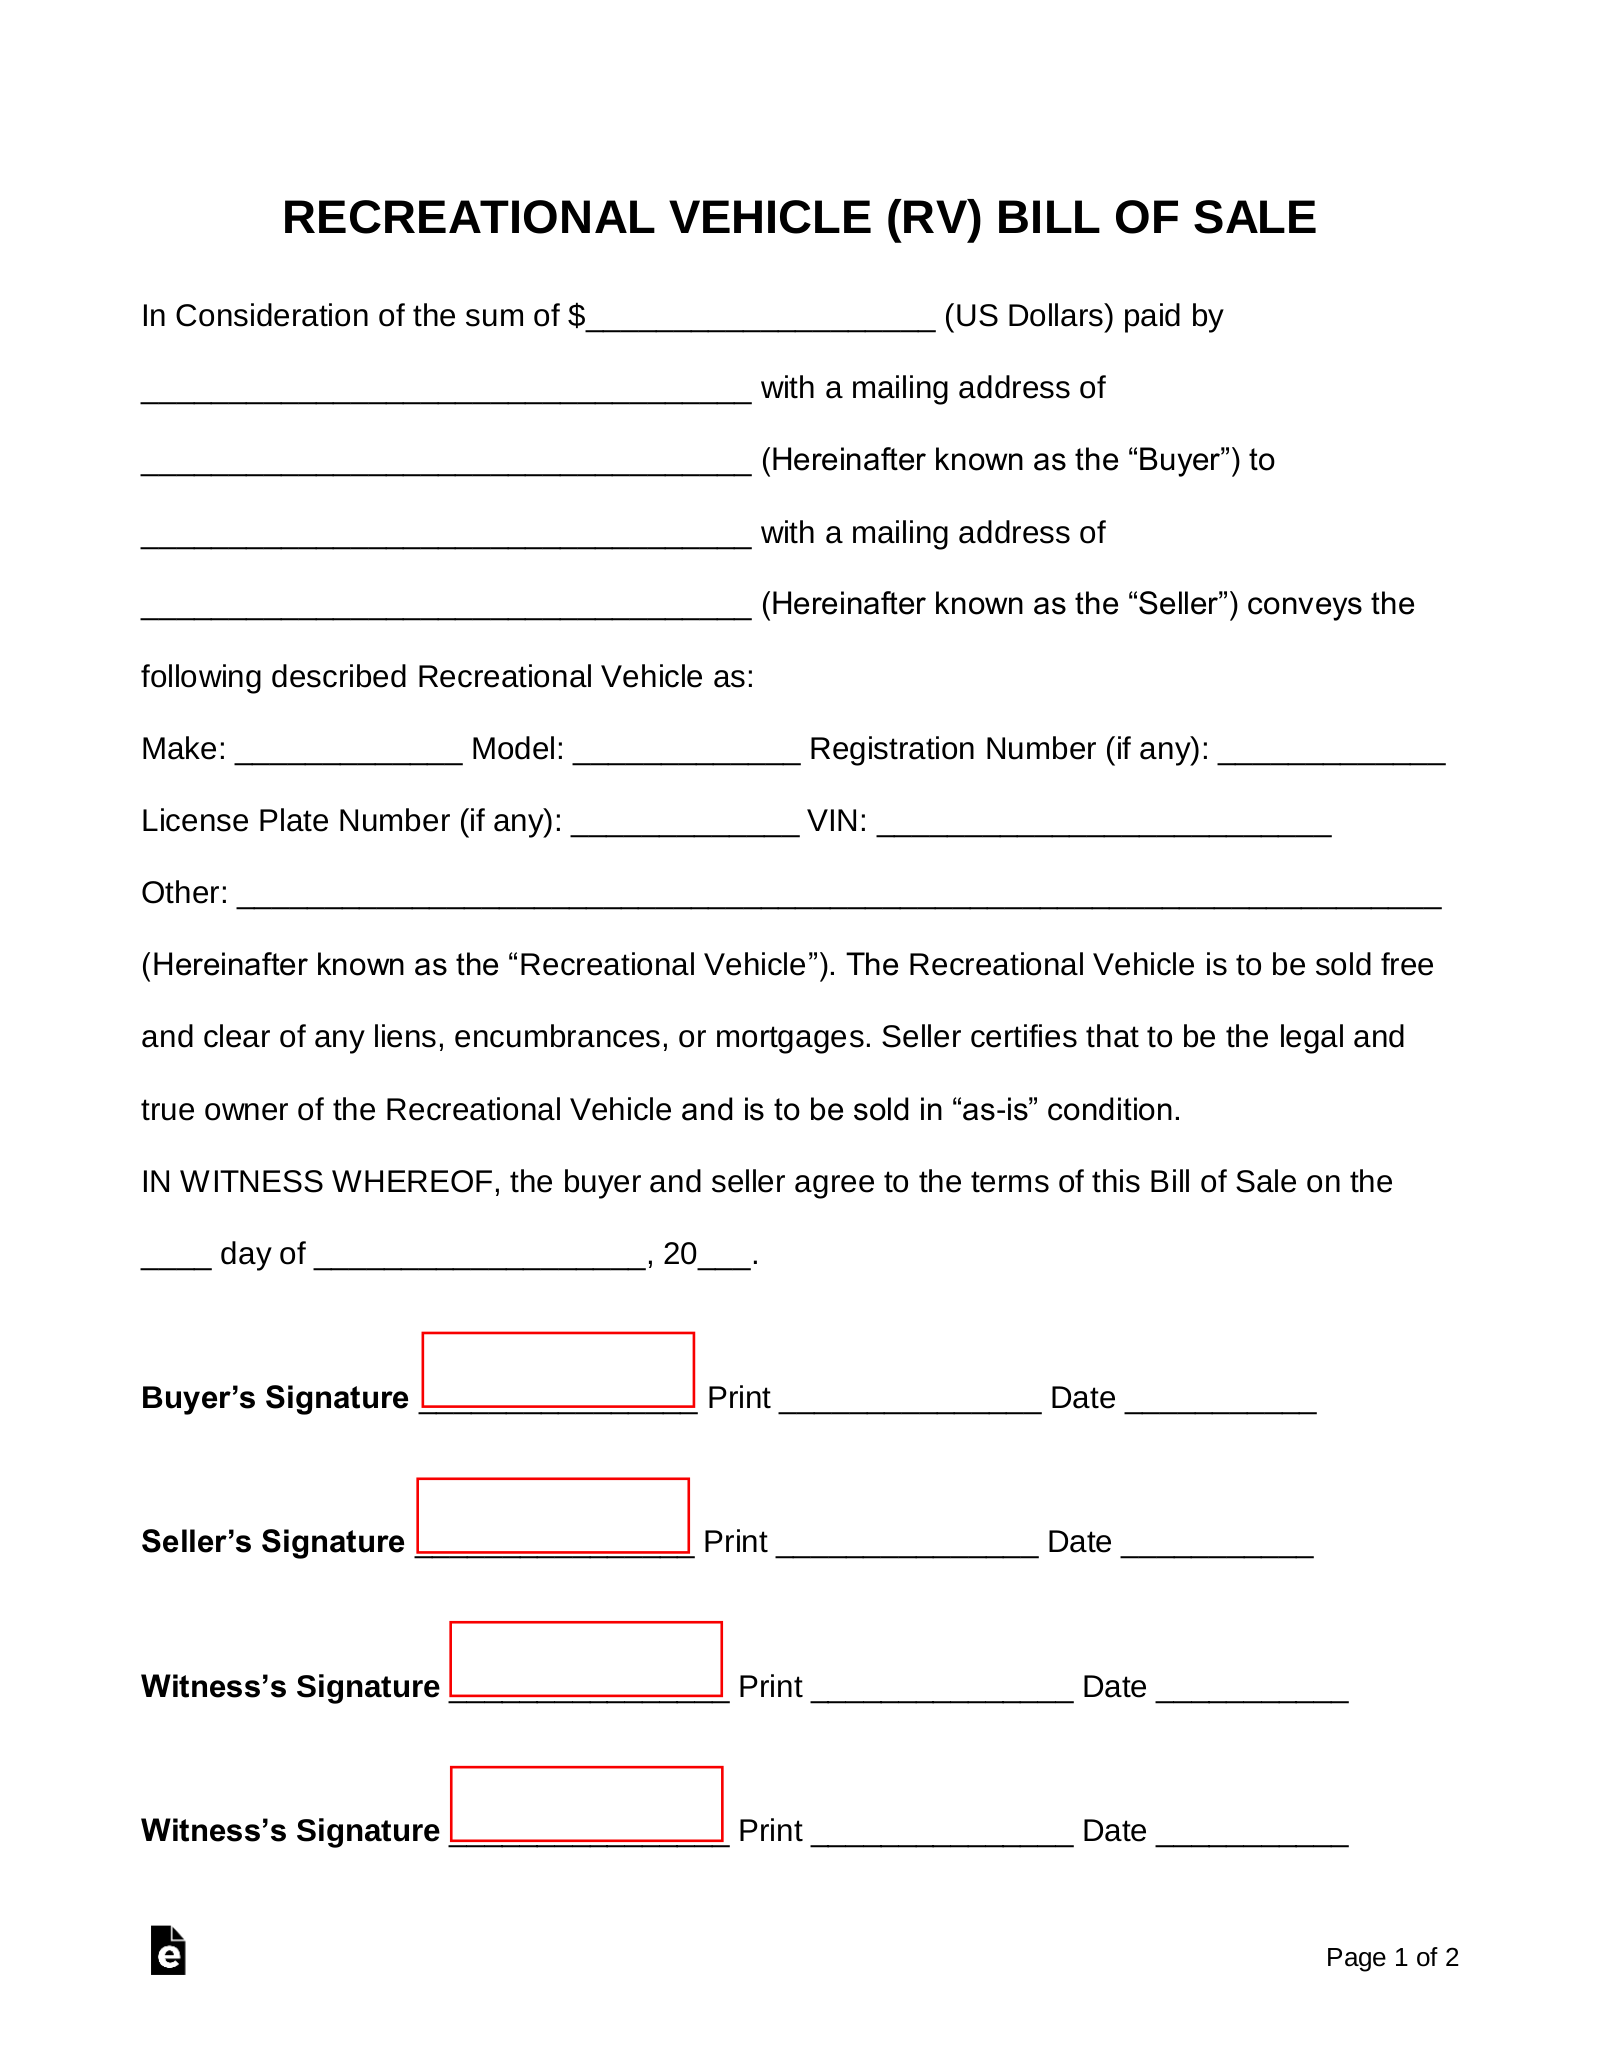
1 – The Bill Of Sale Template For A Recreational Vehicle Is Available On This Page
The image on this page will present three buttons in the caption area. Use these buttons to download your copy of this template. If preferred, you may also use any of the links above.
2 – Details Defining The Sale Should Be Supplied Accurately To This Template
The initial statement is structured with the necessary phrasing to define the two parties involved and the basics of the transaction taking place. Naturally, the information that defines these items will need to be supplied. The first blank space will call for the Total Dollar Amount the Buyer paid the Seller presented. Enter this information numerically. 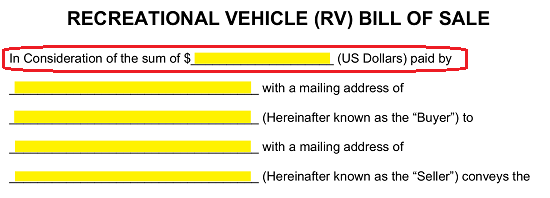 The second blank space, following the words “…Paid By,” should have the Legal Full Name of the individual who is purchasing the vehicle recorded on it. This individual will be referred to as the Buyer. The Buyer’s Mailing Address must be furnished to the next blank space.
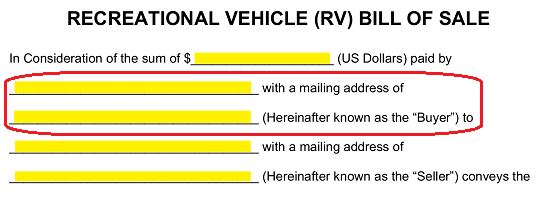 Now locate the third blank space in this statement then, use it to present the Full Name of the entity selling the Recreational Vehicle to the Buyer. This individual will be referred to as the Seller. The blank space preceding the term “Hereinafter Known As The Seller” must have the Seller’s Mailing Address provided on it.
3 – Clearly Identify The Recreational Vehicle This Bill Of Sale Is Concerned With
In addition to the two parties involved with the sale of the Recreational Vehicle as well as the Price, we will have to document the information used to define the vehicle. This will be accomplished using the blank spaces after the term “…Following Described Recreational Vehicle As.” Here you will need to consult the Recreational Vehicle’s paperwork to accurately report the Recreational Vehicle’s “Make,” “Model,” “Registration Number (If Any),” “License Plate Number (If Any),” and “VIN” (Vehicle Identification Number). There will be an additional space to supply any other relevant information used to identify the Vehicle labeled “Other.” You may use this area to include such items as a description of accessories such as the generator. 
4 – A Witnessed And Dated Signature Must Be Furnished By The Buyer And Seller
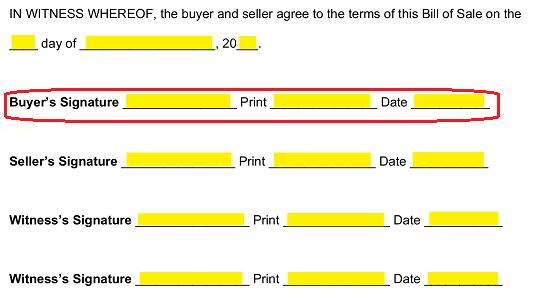
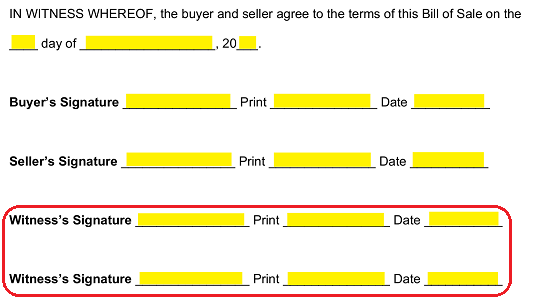
The last sentence in this Bill of Sale will seek an official Date for this document. Generally speaking, this is the same as the Signature Date. Report the Bill of Sale Date as a Two-Digit Calendar Day, Month, and Two-Digit Year on the blank lines provided here. 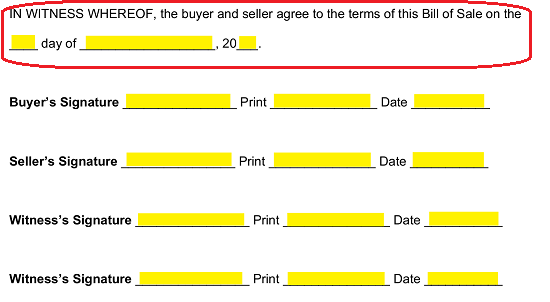 The Buyer Signature area will require three items from the Buyer. He or she must sign the “Buyer’s Signature” line, print his or her Name on the “Print” line, and document his or her Signature Date on the “Date” line.
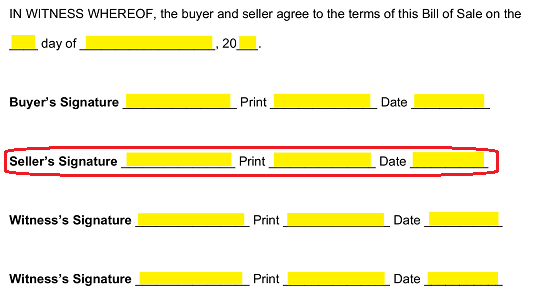
  The Seller will also have to verify the facts presented in this Bill of Sale by signing his or her name on the blank line “Seller’s Signature” then printing his or her Name and recording his or her Signature Date on the blank lines labeled “Print” and “Date.”
  As mentioned earlier, the Buyer and Seller Signing must be witnessed. Each Witness should sign then print his or her name and record the Signature Date using the blank lines following the label “Witness’s Signature.”
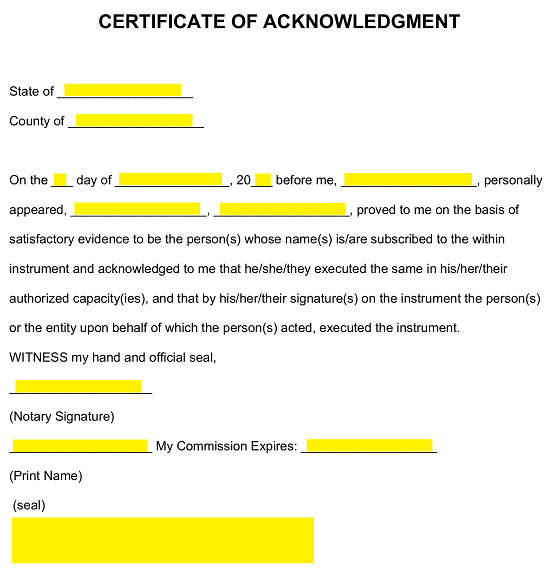
  In addition to the Witnesses, a further authentication is required. The “Certificate Of Acknowledgment” page has been supplied for this purpose. Here, though, only a Notary Public who has witnessed the signing of this Bill of Sale may satisfy the requirements of this page.