Updated January 08, 2023
A Massachusetts power of attorney revocation form is a document used to terminate an existing power of attorney, preventing the agents named within it from continuing to act as representatives of the principal. Properly filling out and executing this form is the first step in revocation. The next step is to make sure your agent has a copy and knows of the revocation, as well as any other entities that may have been relying on the original document. A person who uses a POA and has no reasonable knowledge that it was revoked is not liable for behaving in the manner it allows.
How to Write
1 – Open The Form On This Page To Revoke A Previously Issued Authority
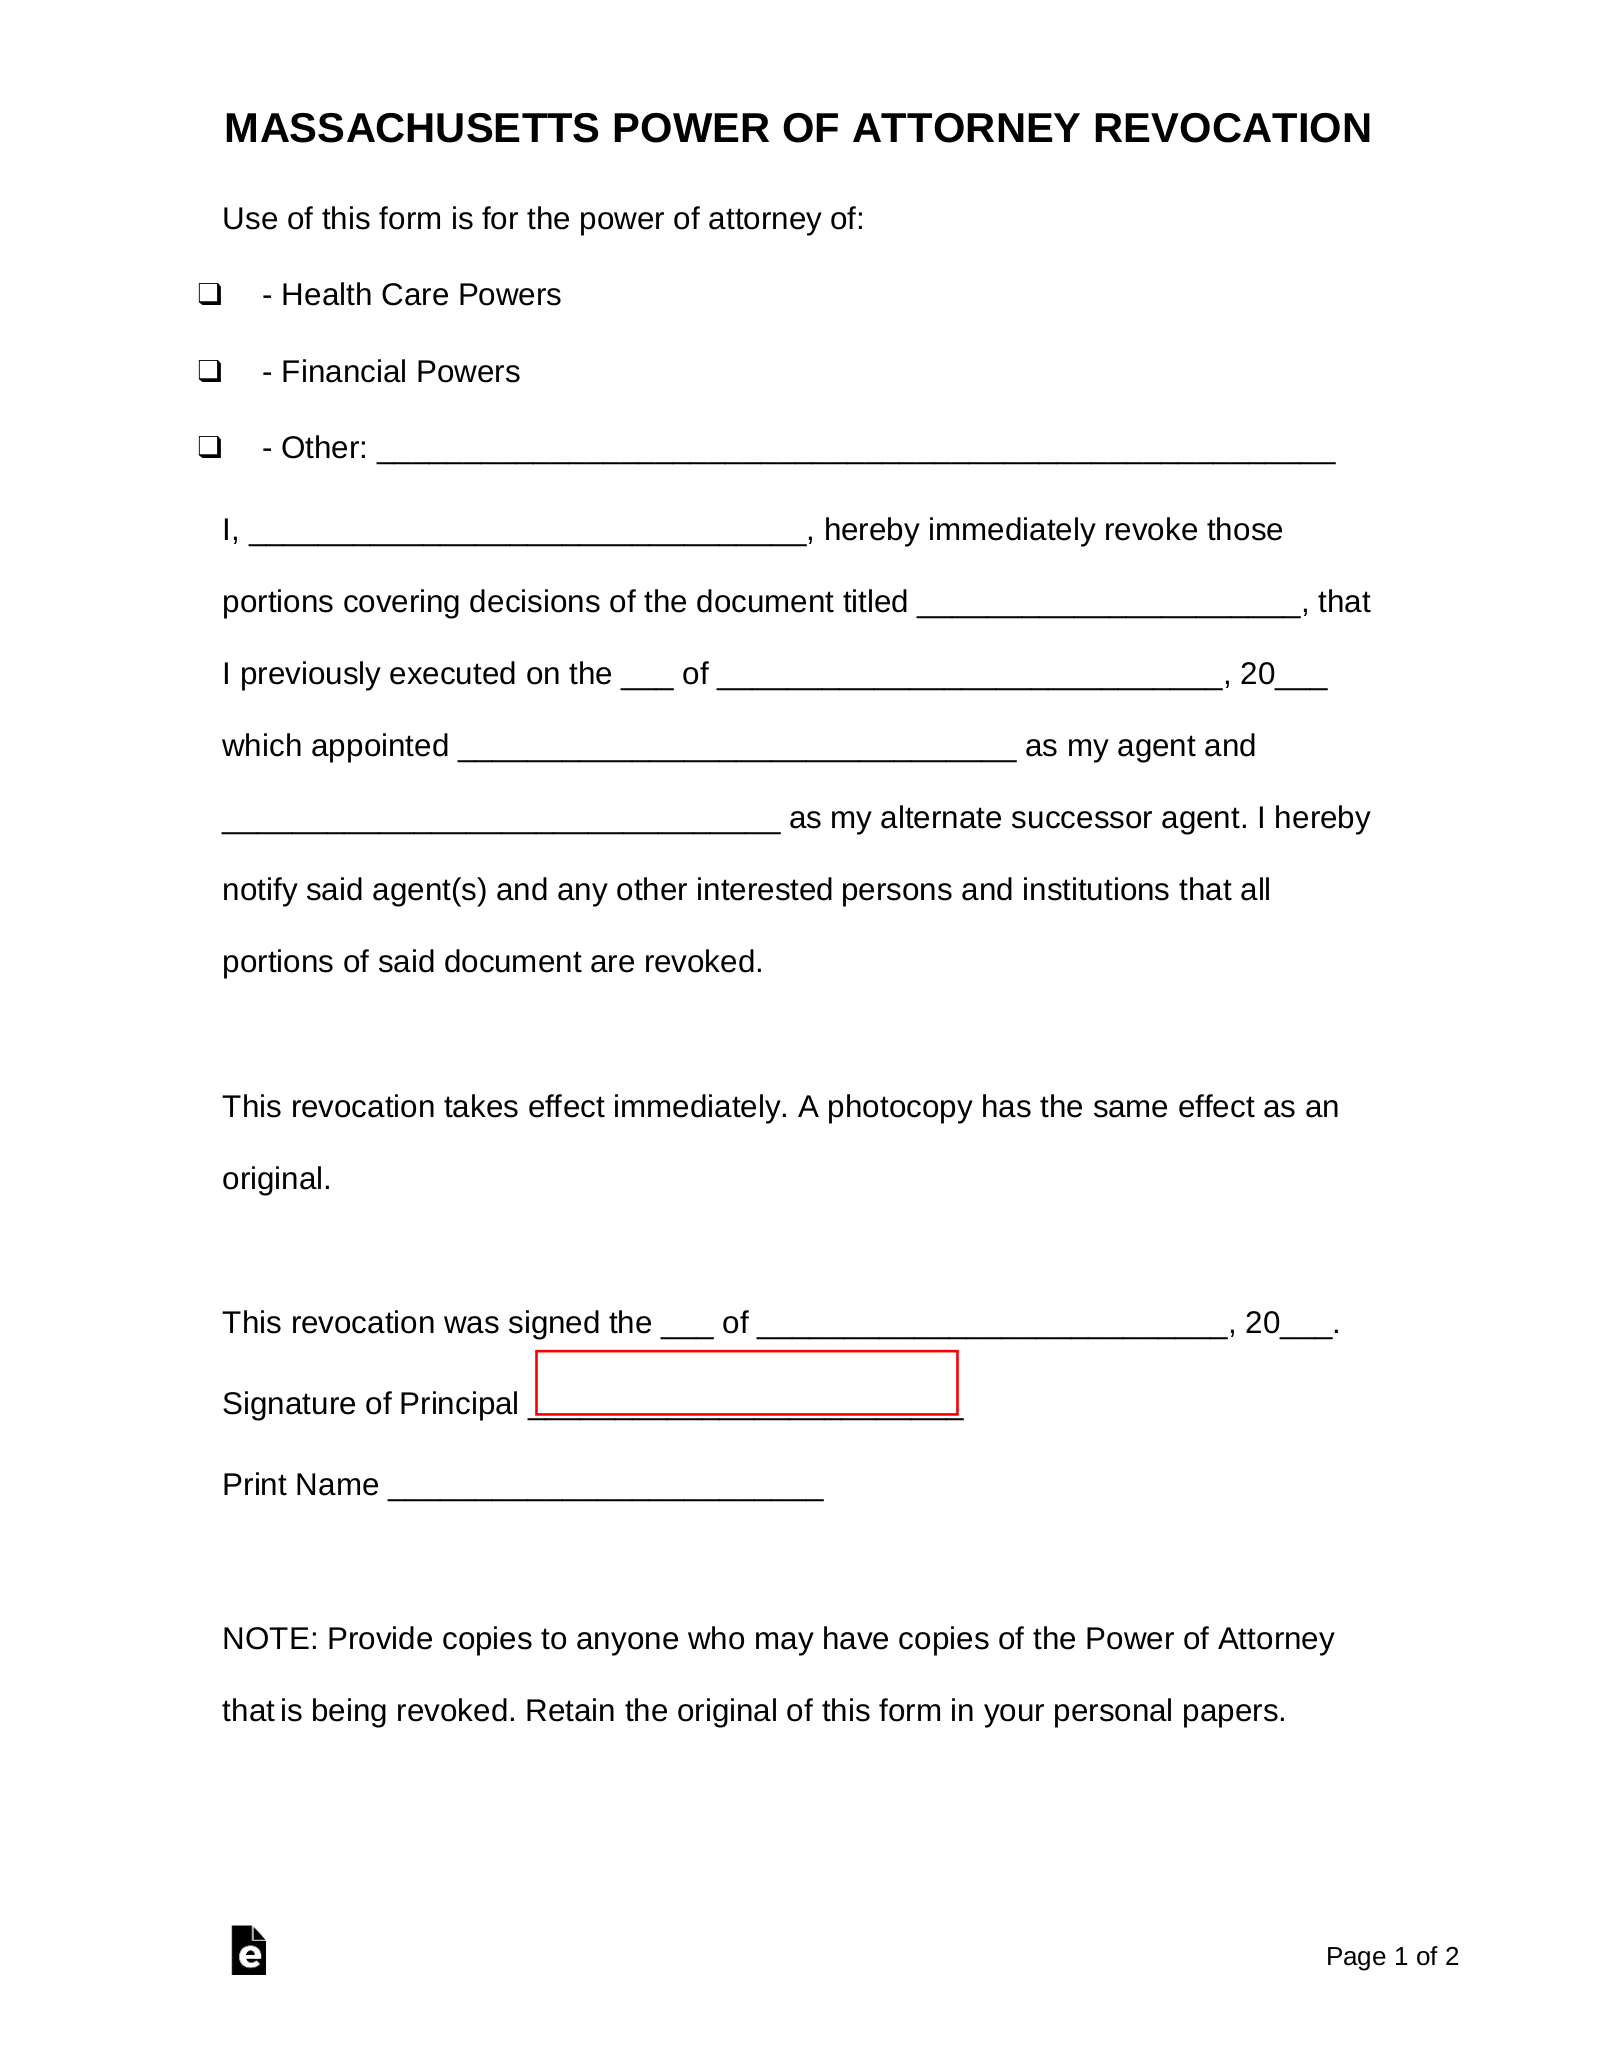
If revoking a Power of Attorney that has been issued in the past, then open the form through the button below the image. This will be the appropriate form which may be filled out by entering it onscreen with compatible software or filled out by hand after printing it.
2 – Categorize The Power Of Attorney The Must Be Rescinded Through This Document
Before filling out this form, it will be necessary to define the type of Authority being revoked here. That is what category of Powers may the target document be considered. This may be done simply by checking one of the three check boxes at the top of the page: Health Care Powers, Financial Powers, and Other. Mark one of the first two boxes if the Revoked Authority fits into one of these categories. If not, mark the “Other” box and simply fill in the previous Authority’s category on the blank space provided. 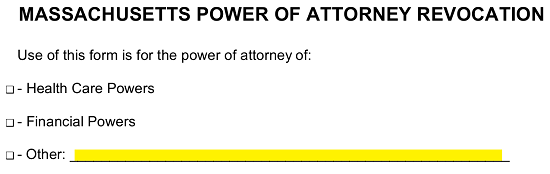
3 – The Identity Of The Principal Issuing This Revocation Must Be Documented Properly
The form will require some very basic information in order to be completed. First, we will need to identify the Principal who is withdrawing his or her Approval of an Attorney-in-Fact’s use of Principal Power. This will essentially revoke the Powers in the document that will be recorded here. Use the first empty line in the main paragraph to enter the Principal’s Name.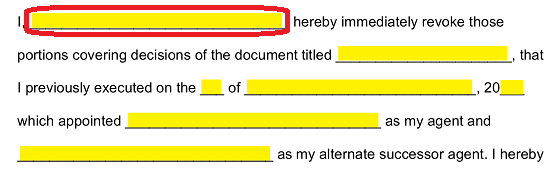
4 – Provide The Title Of The Target Power Document
The next step will be to clearly define the previously executed document. On the space between the phrase “…document titled” and the word “that,” enter the exact Title of the Power Document that must be revoked here. 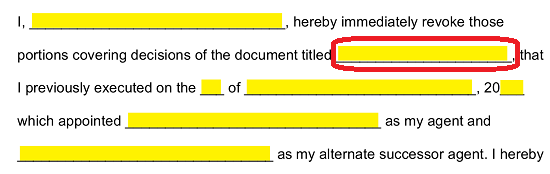 Now that we have produced the title of the targeted Power document, we will need to substantiate that reported title with the Execution Date. Typically, in many cases, this will be the Signature Date. Make sure you positively identify the Execution Date when the previous Power was issued and went into effect then, use the three spaces after the words “executed on” to enter the Day, Month, and Year of the targeted Authority’s Execution Date.
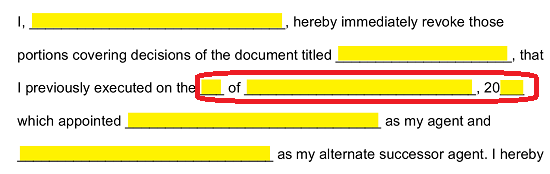
5 – All Agents Holding Principal Power Through The Previous Power Must Be Identified
As with every Power of Attorney issued, the one being Revoked will name a specific Agent, Attorney-in-Fact, Guardian, or Representative with Principal Power. Many will also name a Successor or Alternate Attorney-in-Fact, Agent, Guardian, or Representative. Utilize the next available blank line to report the name of the Primary Attorney-in-Fact (or Agent, etc.) then use the blank space after this to report the Name of the Successor or Alternate Attorney-in-Fact (or Agent, etc.). Make sure these names are transcribed precisely as they were recorded on the Power document being revoked. 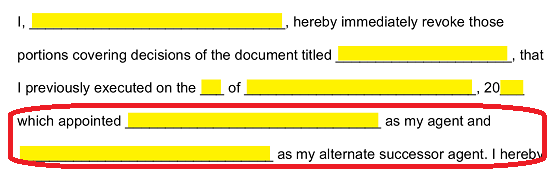
6 – This Form Must Be Signed Properly To Be Effective
The next section of this form will have a few very staunch requirements. This form must be signed by the Principal Revoking Power in the targeted document. Furthermore, this signature must be Dated and Notarized. If these requirements are not met, the document will not be considered valid by many parties.
Report the Date of Signature on the three blank spaces in the statement beginning with “This revocation was signed…” The Principal must provide his or her signature on the blank space labeled “Signature of Principal”
  The Principal must print his or her name on the blank space designated “Print Name.”
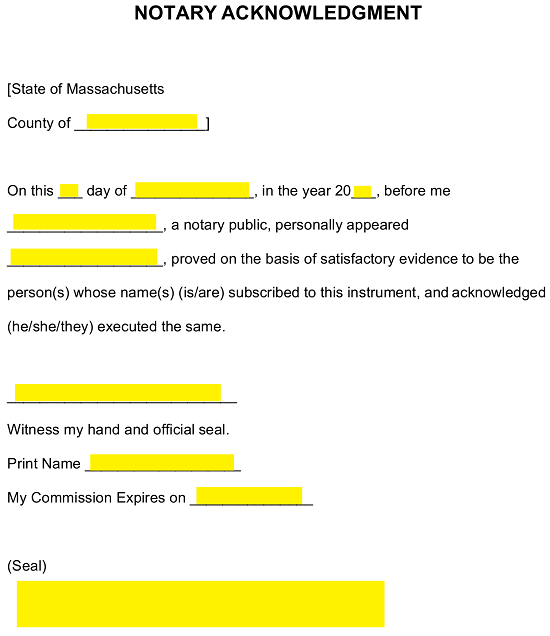
The Notary Public must Notarize the Principal Signature. This may only be done if the Principal has followed the Notary’s instructions and should include a location, date, parties present (at the time of signing), credentials and seal of notarization.