Updated June 05, 2023
An Alabama Tax Power of Attorney Form, otherwise known as “Form 2848A”, is a document that is used by a person paying taxes to the Department of Revenue who would like to use a tax preparer to conduct the filing on their behalf. This is a standard document that will typically be presented to the tax filer upon the accountant, or whoever is conducting the filing for them, before submitting their taxes to the State.
The filer should understand that they will bear any and all responsibility for the accountant’s work and that any issues or non-payment by the filer will be their responsibility and not of the agent selected.
How to Write
1 – Prepare the Paperwork
Download the document, by selecting the appropriately labeled button under the image.
2 – Declaration of Authority
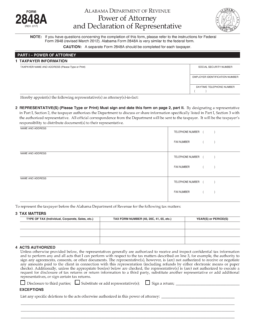
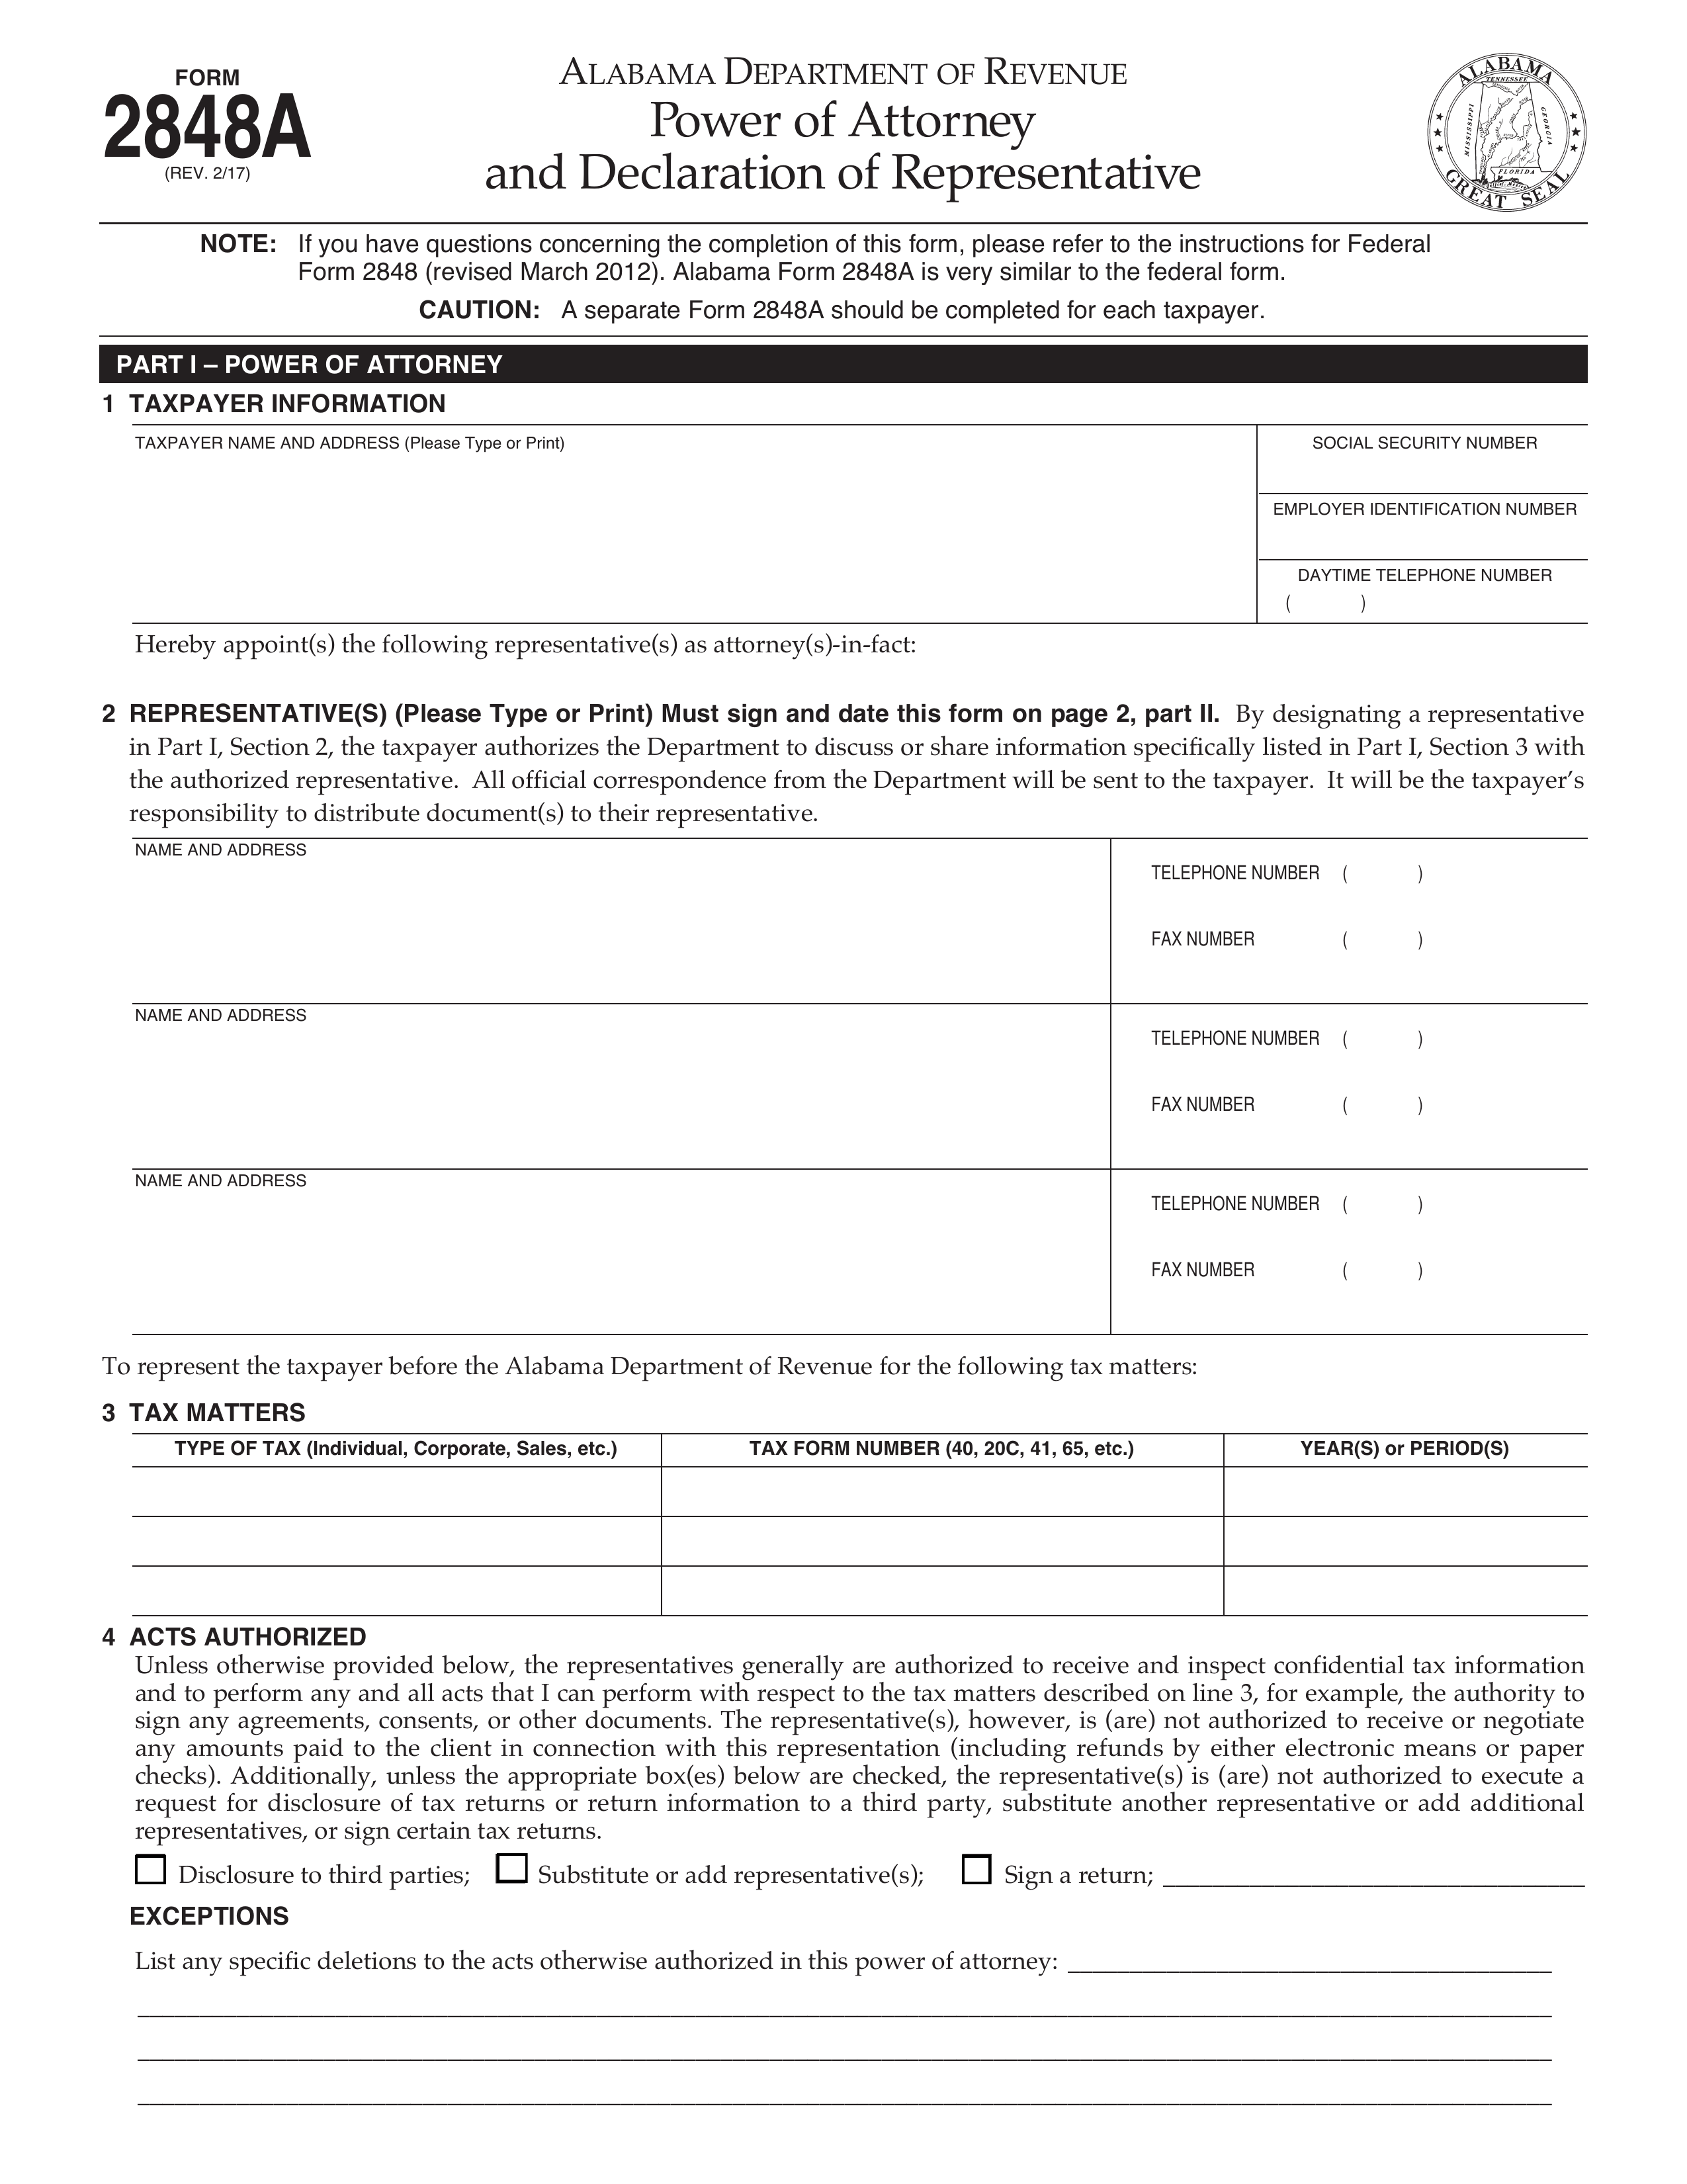
In the section labeled “Part I – Power of Attorney,” locate the first box. Beneath the words “Taxpayer Name(s) and Address,” report the Full Name and Complete Address (Building Number, Street Name, City, State, and Zip Code) of the Principal. Make sure this is reported legibly.

In the column to the right of this area, enter the “Principal’s Social Security Number,” “Employer Identification Number” (if applicable), and “Daytime Phone Number.”

3 – Naming the Representative
In Section 2, “Representative(s),” there will be enough room to declare two separate individuals to act as an Agent possessing Principal Power. Only one may be reported per row. First, locate the words “Name and Address.” Enter the Full Name and Address of the individual who will assume Authority in the Principal’s affairs.

There will be a column next to the “Name and Address” box. Use this column to document the Telephone Number and Fax Number of the Agent.

If the Agent being declared here should receive Notices and Communications, then place a mark in the checkbox next to the statement beginning with “Check if to be sent…”

3 – Defining Tax Authority
Locate the table in Section 3 (“Tax Matters”). Use the columns labeled “Type of Tax,” “Tax Form Number,” and “Year(s) or Period(s)” to report the Nature and Time Period applying to the Agent’s Authority.

4 – Identify Acts
In the section “Acts Authorized” will be three checkboxes. Mark each box that defines an action the Agent named here may take in relation to the Authority being granted.

If there are any restrictions that should be applied to the Agent’s Authority, this must be documented clearly on the blank lines in the paragraph labeled “Exceptions.”

5 – Reporting History
On the 2nd page of the form, the box should be checked if this form cancels any prior tax power of attorney documents that are currently valid the Principal does not wish revoked. If there is a Power of Attorney in place that is to remain active despite and during this document’s effect, then mark the checkbox provided in the “Retention/Revocation of Prior Powers of Attorney.”
6 – Party Signatures
After reviewing the document, the form should be Signed by the Principal and by the Representative authorized to act on their behalf. The Principal must Sign his or her Name on the blank line labeled “Signature,” in the “Signature of Taxpayer(s)” section. The Date must be entered on the line adjacent to this. The last blank space on this line, “Title,” is provided so the Principal may report any applicable Title he or she carries.

Below the Signature Line will be a blank line labeled “Print Name.” The Principal must print his or her Name on this line.

6 – Representative Verification
Locate the section labeled “Part II – Declaration of Representative.” The named Agent should read the text in this area fully. Once done, the Agent must select the letter that best defines his or her role, then enter it in the first column of the Table at the bottom. Then in the next column, “Jurisdiction (State) or Enrollment Card No.,” the Agent must report his or her relationship (if the role selected is any of the letters between d-f), State where his or her credentials are valid, or the appropriate Enrollment Card No. In the column labeled “Signature,” the Agent must Sign his or her Name, then provide the Signature Date in the last column. Note: Only one Signature per row will be accepted.


