Updated June 07, 2023
A West Virginia Limited (Special) Power of Attorney Form can be used to tailor the appointment of a proxy for a predetermined scenario for which the agent must bear principal approval to represent you. This document will serve as such proof of approval once it is completed, signed, then presented. When you fill in the document it is important that you clearly indicate what your agent is authorized to do and when they are authorized to do it, so there is no ambiguity at the time of the transaction. Naturally, it should be considered crucial that the agent is available and understands his or her role.
Laws
Statutes – Uniform Power of Attorney Act
Authority (W. Va. Code, § 39B-2-101) – An agent under a power of attorney may act on behalf of the principal and exercise limited (special) authority as expressly granted by the agreement.
Signing Requirements (W. Va. Code, § 39B-1-105) – Notary Public.
How to Write
1 – Save The Template To Issue Limited Principal Powers In West Virginia
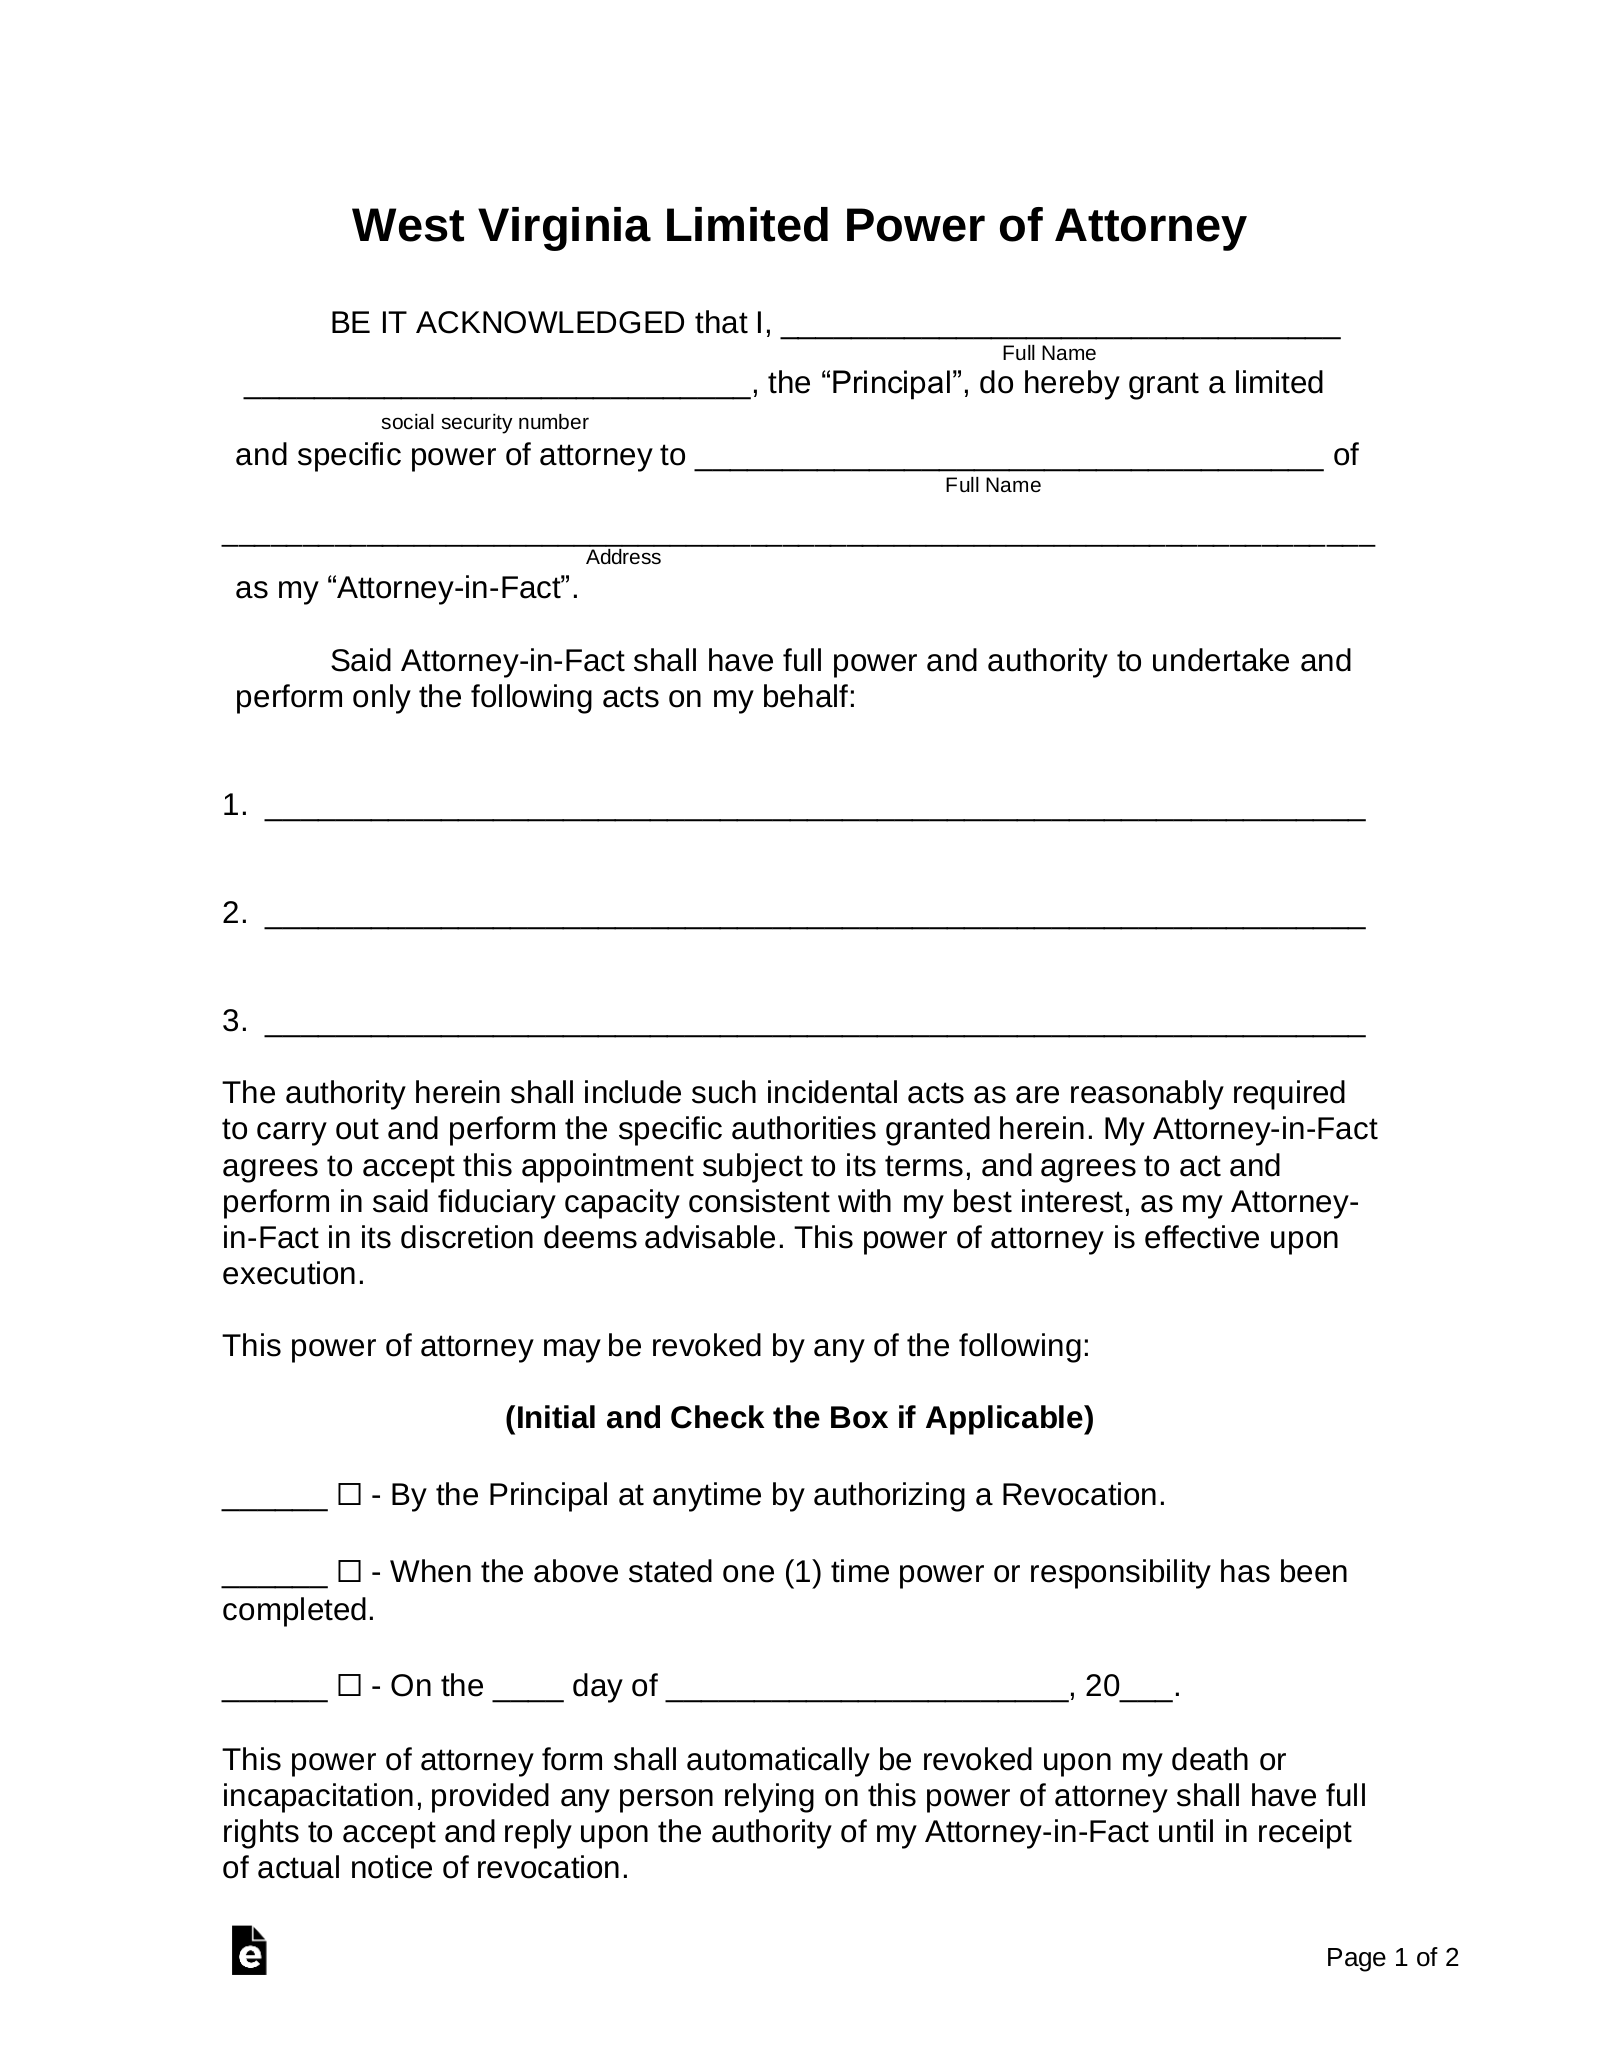
The paperwork displayed in the preview picture can be downloaded using the buttons placed in the caption areas. Download this template then fill it out.
2 – Both The Principal And The Principal-Agent Must Be Adequately Documented
If the language in this document is to be used effectively several pieces of information should be presented. The first of which will be the Principal’s Name. Enter this on the blank line labeled “Full Name.” 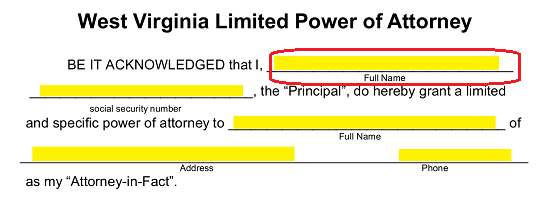 Document the Social Security Number of the Principal on the next blank line.
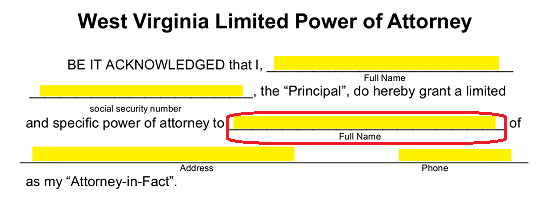
 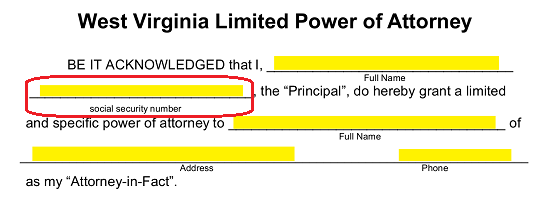 Locate the words “…Specific Power Of Attorney To” then fill in the Agent’s First, Middle, and Last Name on the empty line following this terminology.
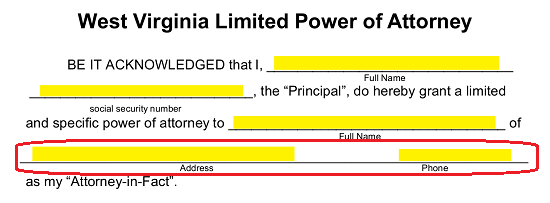
  The last requirements of this paragraph shall call for the Agent’s up-to-date Address and Telephone Number furnished to the last blank line in the appropriately labeled areas.
3 – Give A Report On The Principal Powers That Will Be Appointed Upon Execution
The empty numbered lines under the phrase “…Only The Following Acts On My Behalf” is where a full description of the decisions and actions the Agent may use Principal Authority to complete in the name of the Principal. If more room is required to accurately document this information, then make sure to continue it on a properly labeled document then attach it to this one. 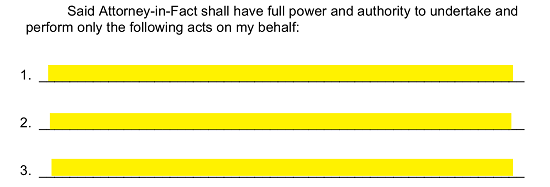
4 – Define How Termination Must Occur
This template shall request a definition as to how the Powers delivered here will terminate or end. Three checkbox statements are presented below the sentence “This Power Of Attorney May Be Revoked By Any Of The Following” for this purpose. The Principal must initial the blank space before the checkbox statement and mark the checkbox that defines the termination of these Powers. The Principal may elect to have these Powers in effect until he or she revokes them by choosing the first statement, whenever the tasks defining the Principal Power have been completed by choosing the second statement, or the Principal may opt to enter a specific Termination Date in the third statement then initialing and checking it. Only one of these statements may be selected and applied to these Powers.
5 – The Agent Will Only Be Designated With Power When The Principal Signs This Document
The top of the second page will contain several areas that only the Principal may satisfy. He or she must enter the Signature Date when he or she signs the completed template using the spaces in the “Signed This…Day Of…20…” statement. The Signature Date should be produced as a Two-Digit Calendar Day, the Full Name of the Month, and the Two-Digit Year.  The two blank lines to the below this statement and on the right are labeled “Signature” and “Print Name.” This is where the Principal must sign and print his or her Name.
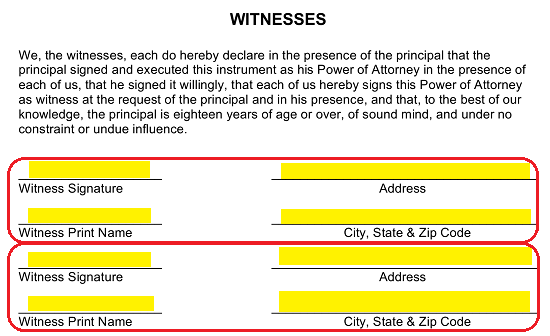
The Agent will have to also participate in this signing by officially acknowledging his or her responsibilities. This will be handled in the “Acceptance Of Appointment” statement. Make sure the Agent’s Full Name is printed on the blank line in this statement, then allow the Agent to read the statement, then sign his or her Name to the “Attorney-in-Fact’s Signature” line and print his or her Name on the “Attorney-in-Fact’s Printed Name” line.  The Witnesses that are present at the time of signing will also have a defined area they may sign. Each one must read the statement under the “Witness” heading. Once this task is finished, each Witness must sign the “Witness Signature” line, print his or her Name on the “Witness Print Name” line, produce his or her Street Address on the “Address” line, and enter the remainder of the Address on the “City, State, & Zip Code” line. Each Witness will have his or her own Signature area to supply these items.
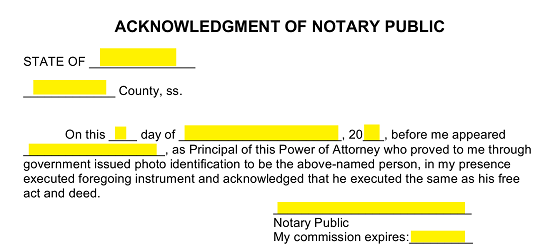
The next party to tend to this signing will be the Notary Public present at the time. This entity will use the area near the bottom of this page to notarize this paperwork 