How to Write
Step 1 – Download in PDF, MS Word, or OpenDocument
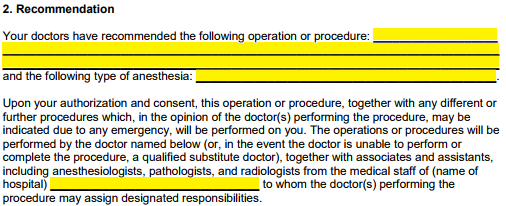
Step 2 – The operations recommended by the doctors should be listed under the “Recommendation” section of the consent form, along with the types of anesthesia to be administered. Next, the hospital’s name where the surgery is to take place should be entered in the available space.
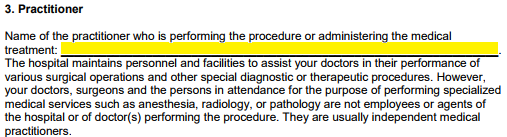
Step 3 – The surgeon’s name must be indicated in the field provided under the “Practitioner” section.
Step 4 – Section 5 informs the patient that the pathologist may dispose of or use any member, organ, or tissue removed during the operation. If any conditions apply, they may be entered in the empty field provided.

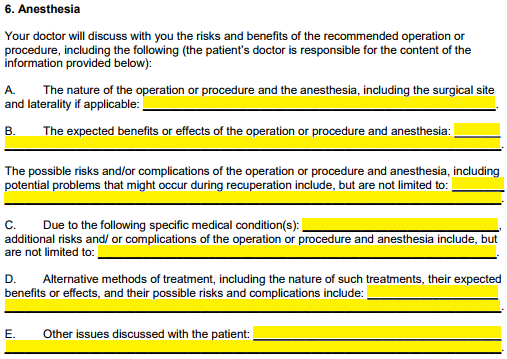
Step 5 – Under Section 6, “Anesthesia,” information regarding the surgery/procedure, the anesthesia involved, possible risks/effects, and treatments administered post-surgery can be entered in the appropriate spaces provided under Parts “A” through “E.”
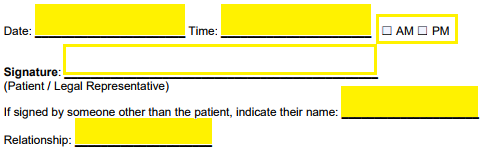
Step 6 – The patient must sign page 3, as shown below, with the current date. If a legal representative has signed, due to the patient being incapacitated somehow, they must print their name and enter their relationship with the patient.
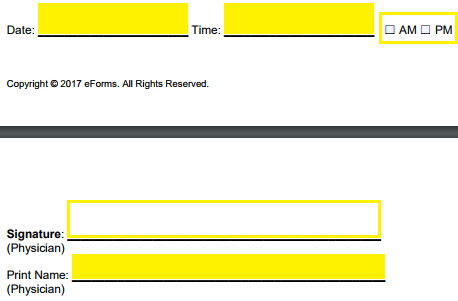
Step 7 – Next, the physician must sign the form under the “Physician Certification” section and include the date and their printed name.
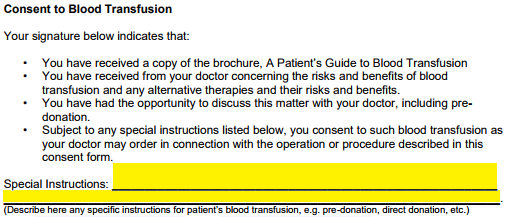
Step 8 – Under the “Consent to Blood Transfusion” section, any special instructions for the patient’s blood transfusion should be mentioned in the blank fields.
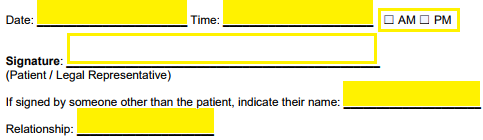
Step 9 – The patient must provide their signature once more under the “Consent to Blood Transfusion” section, along with the date. Or, if the patient cannot sign, a legal representative must do so and include their printed name and relationship to the patient.
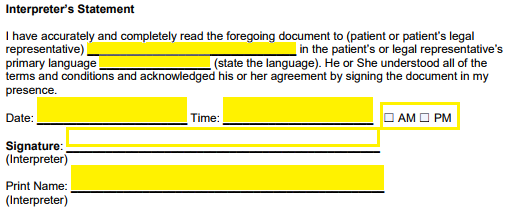
Step 10 – If it was necessary for the patient to have an interpreter present during the explanation of the surgery/procedure and the risks involved, the interpreter must sign, date, and print their name after entering the name of the patient and their native language.