How to Write
Step 1 – Download a workable copy of the Standard Form 1199A by selecting the PDF button, on the right, then saving the file to your machine. If you do not have a form friendly browser or PDF program, you will have to fill this form out manually.
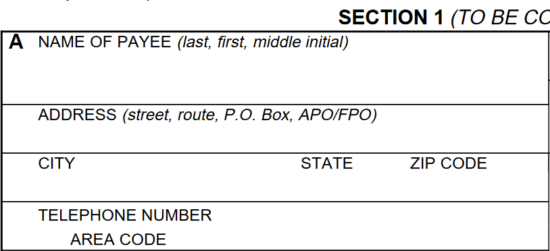
Step 2 – Locate Box A. The first line will require the Full Name of the payment recipient presented in this order: Last Name, First Name, then Middle Initial. This must be the exact Name reported on the government check.
Step 3 – The next two lines require the Complete Address of the payment recipient reported. Make sure this is accurate and conforms with the information the government and your banks record books. You may enter the Street Address below the word “Address” then report your City, State, and Zip Code below the words “City,” “State,” and “Zip Code.”
Step 4 – On the next line, next to the words “Telephone Number Area Code,” enter the Area Code and Telephone Number of the payment recipient.
Step 5 – In Box B, report the Name of the individual who is authorized to receive this payment. Typically, this is the same party as the Payee however, in some cases, such as those where someone holds a Power of Attorney, this section may have a different Name reported.

Step 6 – In Box C, enter your Claim or Payroll Number exactly as it appears on your check. Generally, for government issued checks, this is the number printed directly below the Date of the check.

Step 7 – In Box D, indicate whether the payments will be deposited to a Checking Account or a Savings Account. If the Payee is having the deposits made to a Checking Account then, mark the box labeled “Checking.” If the Payee is having deposits made to a Savings Account then, mark the box labeled “Savings.”

Step 8 – In Box E, use this row of small boxes to report the Account Number the Payee requires the payments to be deposited into. Each box is reserved for one Digit. Make sure this is entered accurately.

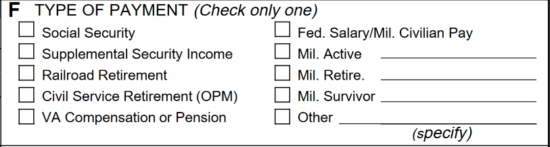
Step 9 – Box F will require a definition to the Payment Type being received. You will be presented with several choices, each with its own check box and must select only one. If you are not sure how your Payments are classified, consult your check. Your Payment Type will be listed to the left of the Dollar Amount of the Check. Place a mark next to one of the choices in this section: Social Security, Supplemental Security Income, Railroad Retirement, Civil Service Retirement (OPM), VA Compensation or Pension, Fed. Salary/Mil Civilian Pay, Mil Active (requires Dates), Mil. Retire (requires Date), Mil. Survivor (requires Date), or Other (requires definition). You may only choose one.
Step 10 – If you are splitting the payment across multiple accounts then a separate Standard Form 1199A must be filled out for each account. In such a case, you will need to enter the Payment Type and Account Number for the concerned payment amount in Boxes D & E, then define the Account Type and Exact Amount to be deposited in Box G. You will also need to fill in Box G if you wish to receive part of your payment as an electronic transfer and the balance as a paper check. If neither of these cases apply, you do not need to fill in Box G.

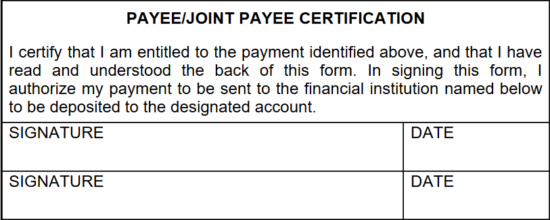
Step 11 – The bottom section of this page will contain the Signature Boxes. If future Direct Deposit Transfers are going into the Payee’s Bank Account and it is not a Joint Account then the Payee and (if applicable) the other individual entitled to this payment must provide a Signature and Date of Signature in the Signature Box in the left column.
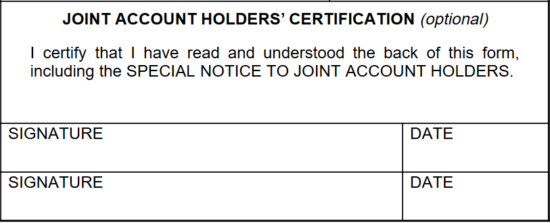
Step 12 – If the payment being transferred by the Direct Deposit is going to a Joint Account, all additional account holders must read the information located at the end of this document then Sign their Names on the Signature line in the right column. Each Signature must have a Signature Date entered in the space labeled Date. Do not fill in the right column unless you are the other party in the Joint Account listed with the Payee.
Step 13 – Section 2 will be filled in with the Internal Revenue Services information. Do not alter this.

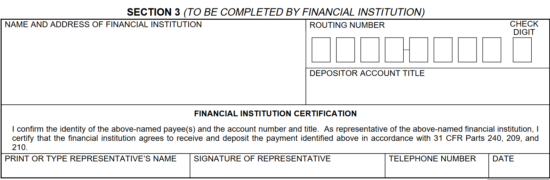
Step 14 – Next, you will need to bring the completed document to the Financial Institution that holds the target account of this Direct Deposit. This entity will fill out Section 3 and verify that Sections 1 and 2 are compliant with the information on the books. If not, follow the instructions this entity provides.
Step 15 – Once all this information has been presented and verified, you will need to submit the first page to the Government Institution that shall be issuing payments, submit the second page to the Financial Institution where you hold your account, and retain the third page for your records.