Updated August 08, 2023
A Connecticut medical power of attorney, or ‘Appointment of Health Care Representative’, gives an agent the ability to make health care decisions should the principal become unable to do so due to trauma, unconsciousness, or some other condition that prevents the communication of health care wishes. This document is legal under state laws and it gives the representative the ability to make health care decisions for the individual based upon his or her living will if there is one, or their wishes as told to the representative. It is important that you inform the representative you appoint of your healthcare wishes.
How to Write
Download: PDF
Step 1 – Access The Connecticut Medical Power Of Attorney
The “PDF” button currently placed in the caption area of the sample image should be selected to prompt a download of your Connecticut Medical Power Of Attorney Form. It is recommended that you save a copy to a readily accessible folder in your computer or cloud however, you may also open the form with an up-to-date browser and prepare it live.
Step 2 – Declare The Identity Of The Connecticut Health Care Representative
Open this form then, review the introduction. This language will establish your ability to grant your power of authority and should not be altered without the guidance of a qualified professional (i.e. an attorney). Be advised that your execution of this form will indicate your agreement with this paragraph and those that follow. 
Step 3 – Declare The Identity Of The Connecticut Health Care Representative
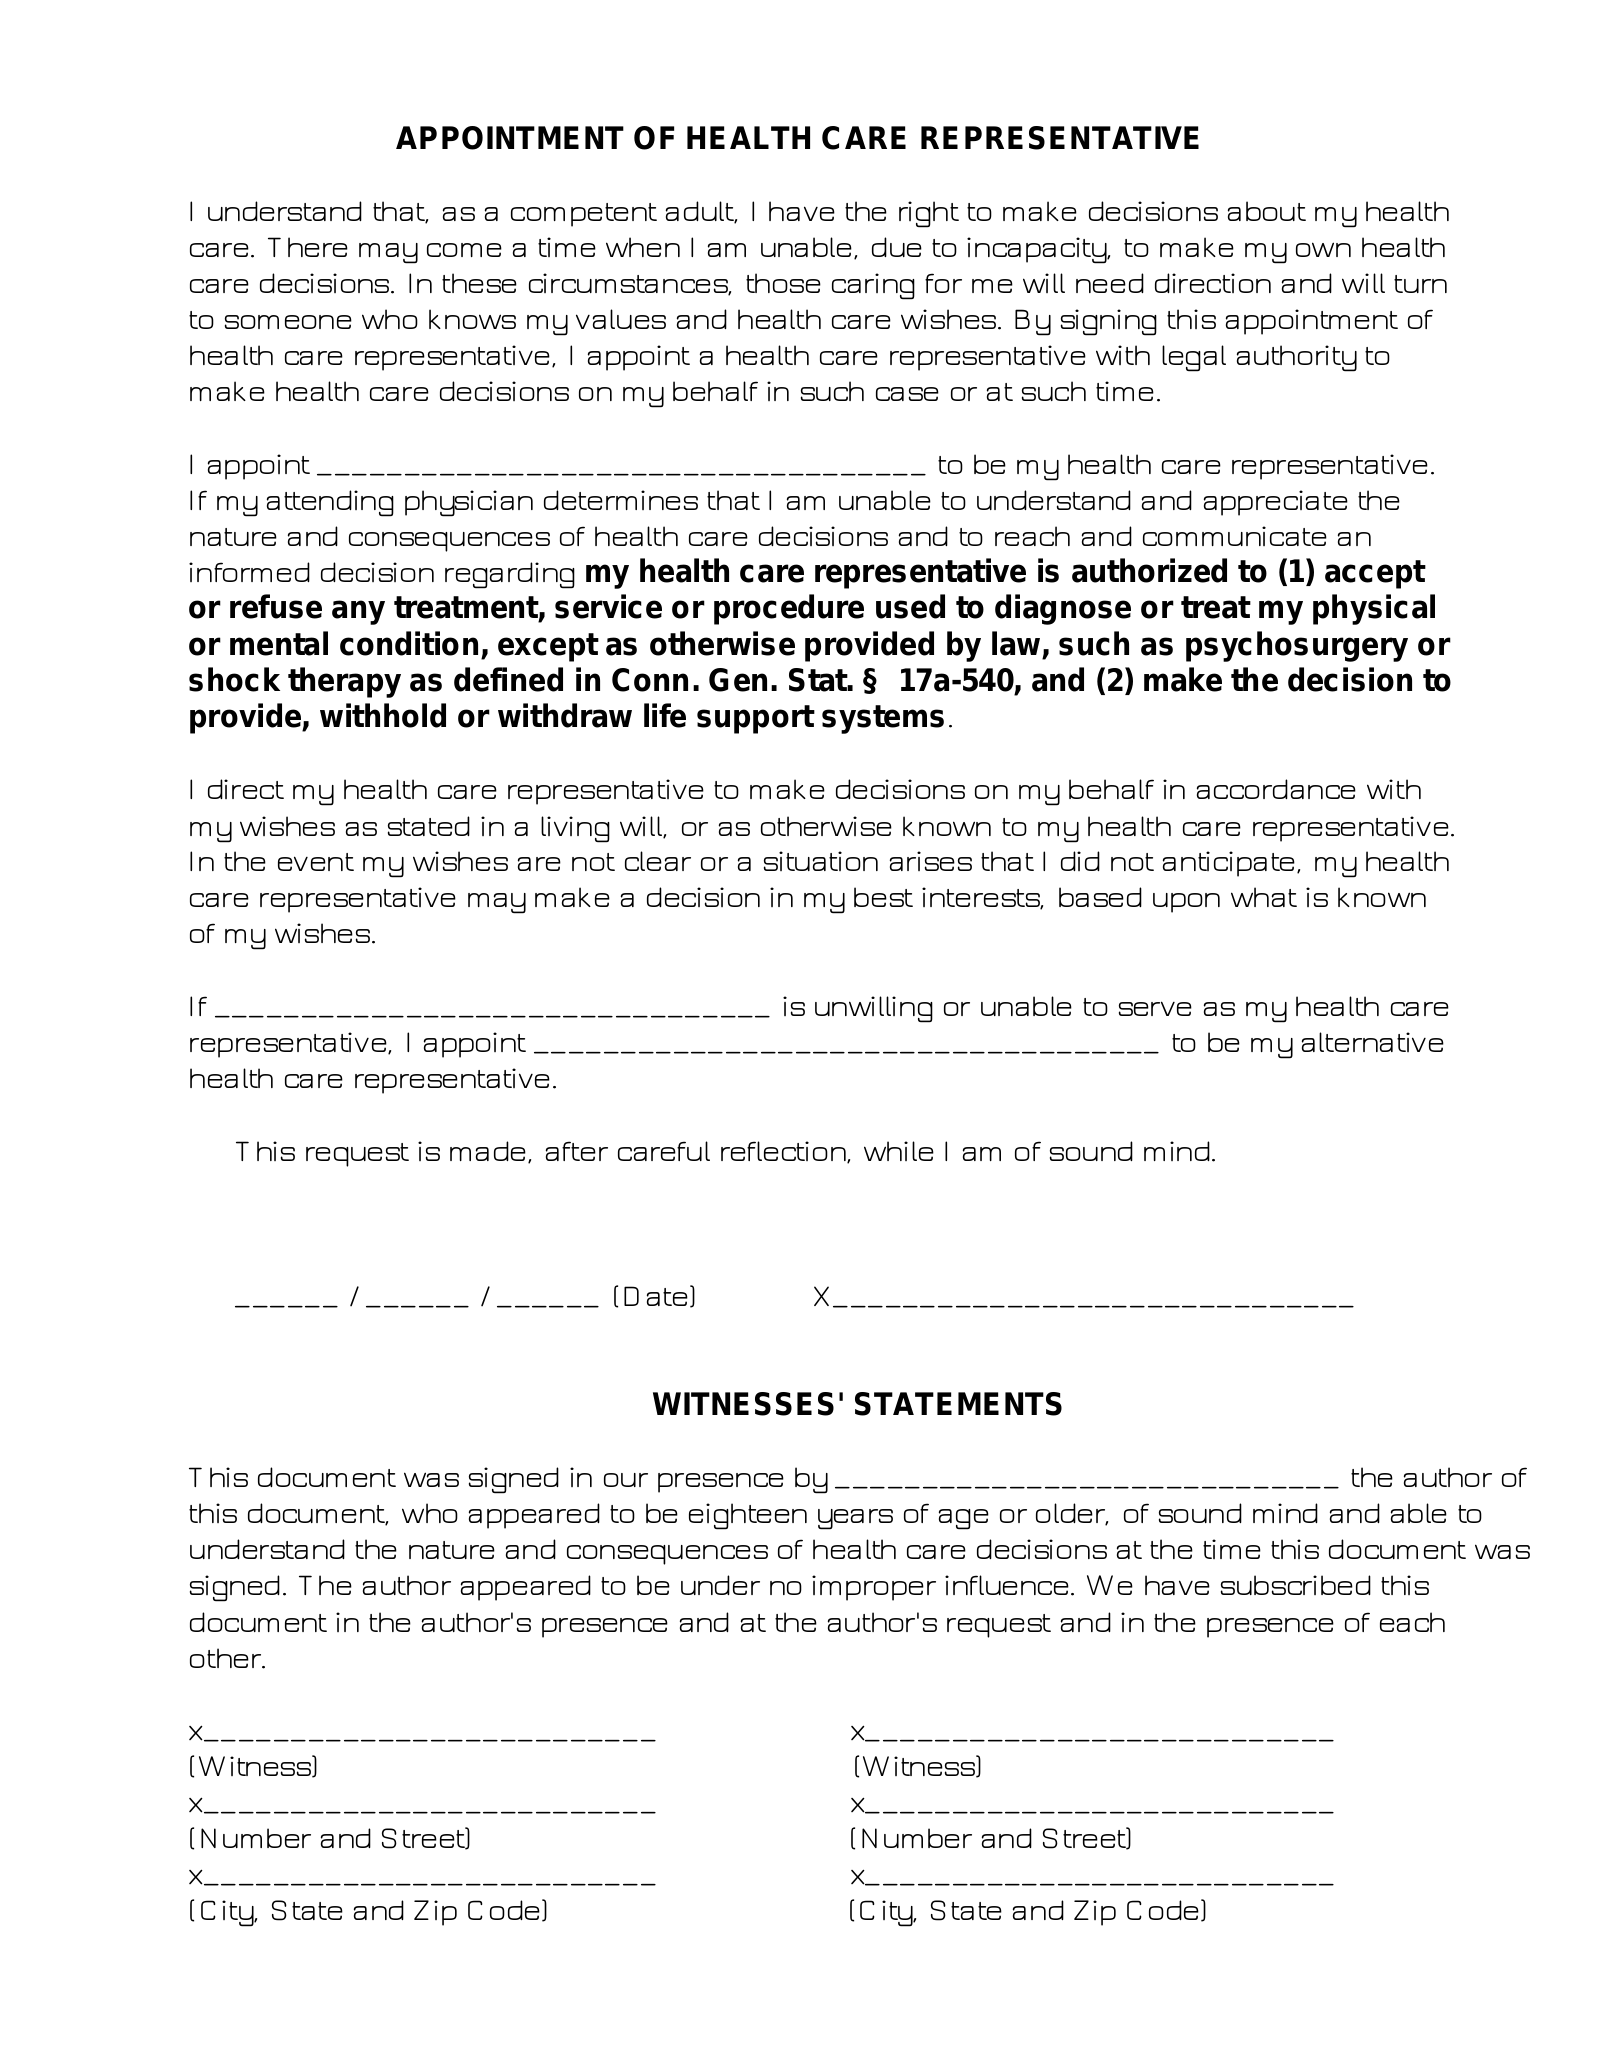
Your attention will be required in the second paragraph statement of this paperwork. Find the blank line between the term “I Appoint” and the words “To Be My Health Care Representative” then populate it with the full name of the individual you wish to grant medical decision-making powers. This Health Care Representative will have your approval, through this paperwork, to act as your voice with Medical Staff seeking your treatment preferences even when you are unconscious or otherwise unable to effectively communicate. This must be the same Health Care Representative named in your living will or similar paperwork. It will be assumed the Health Care Representative elected here will be fully abreast of your personal health care preferences. ![]()
Step 4 – Set An Alternate Health Care Representative In Place
This form will allow an Alternate Health Care Representative to be held in reserve. This is often considered a useful precaution when one wishes to ensure continuous representation is available even when the Health Care Representative you appointed above can no longer carry out your directives, is no longer qualified to do so, or does not wish to act in this role. When this happens, the authority to act as your representative can automatically be granted to an Alternate Health Care Representative that you name in this paperwork. To begin this process, locate the empty line after the word “If” and preceding the term “Is Unwilling Or Unable To Serve…” then, reproduce the full name of the Health Care Representative for display ![]() The full name of the Alternate Health Care Representative must be furnished to the blank line following the words “I Appoint.” This can also be found in the second paragraph. It should be noted that all the principal powers granted to the Health Care Agent will remain solely with him or her. The Alternate Health Care Representative will not be granted any such authority until the Health Care Representative has his or her powers revoked or is otherwise unable to represent your medical preferences.
The full name of the Alternate Health Care Representative must be furnished to the blank line following the words “I Appoint.” This can also be found in the second paragraph. It should be noted that all the principal powers granted to the Health Care Agent will remain solely with him or her. The Alternate Health Care Representative will not be granted any such authority until the Health Care Representative has his or her powers revoked or is otherwise unable to represent your medical preferences. ![]()
Step 5 – Confirm The Appointment Date With Your Signature
The calendar date when you execute this paperwork must be attached to your signature. Find the set of lines preceding the parentheses label “Date” then input this information as the two-digit calendar month, day, and year of your signature. Once this task has been carried out sign the line labeled with the bold “X.” ![]()
Step 6 – Prepare The Connecticut Signature Witness Testimonial
The “Witnesses’ Statements” section is the next area that needs attention. First, the blank line after the words “…Signed In Our Presence By” must be provided with the full name of the Signature Principal (You). Once this paragraph formally identifies the Signature Principal it can be attended to by the Witnesses lending credence to his or her signing of this form. ![]()
Step 7 – Obtain The Signature Of Each Witness
Both Witnesses must choose a unique “Witness” line, then sign it as an agreement to the contents of the “Witnesses’ Statements” paragraph. ![]()
Step 8 – Document Both Witness Addresses
Each Witness must also provide the building number, the street name or street number, and (if applicable) suite number of their home address directly underneath their names. ![]() Both Witnesses must complete recoding their home address by furnishing the appropriate “City, State, And Zip Code” on the final available line in their respective areas.
Both Witnesses must complete recoding their home address by furnishing the appropriate “City, State, And Zip Code” on the final available line in their respective areas. ![]()
Step 9 – Release This Directive To The Notary In Attendance
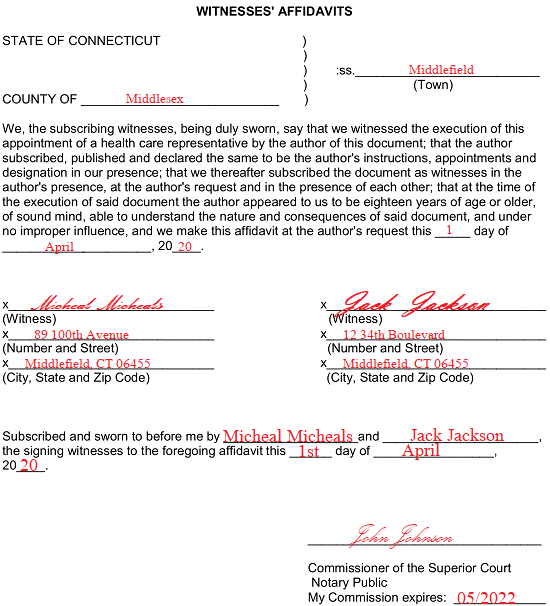
Notice that an optional “Witnesses’ Affidavits” form has been supplied to this paperwork. If this execution will be notarized, then follow the Notary Public’s instructions. Once this form is in this Party’s control, the Notary Public will record the location and time, require the Witnesses’ signatures, and provide his or her seal and credentials. 


