Updated April 23, 2024
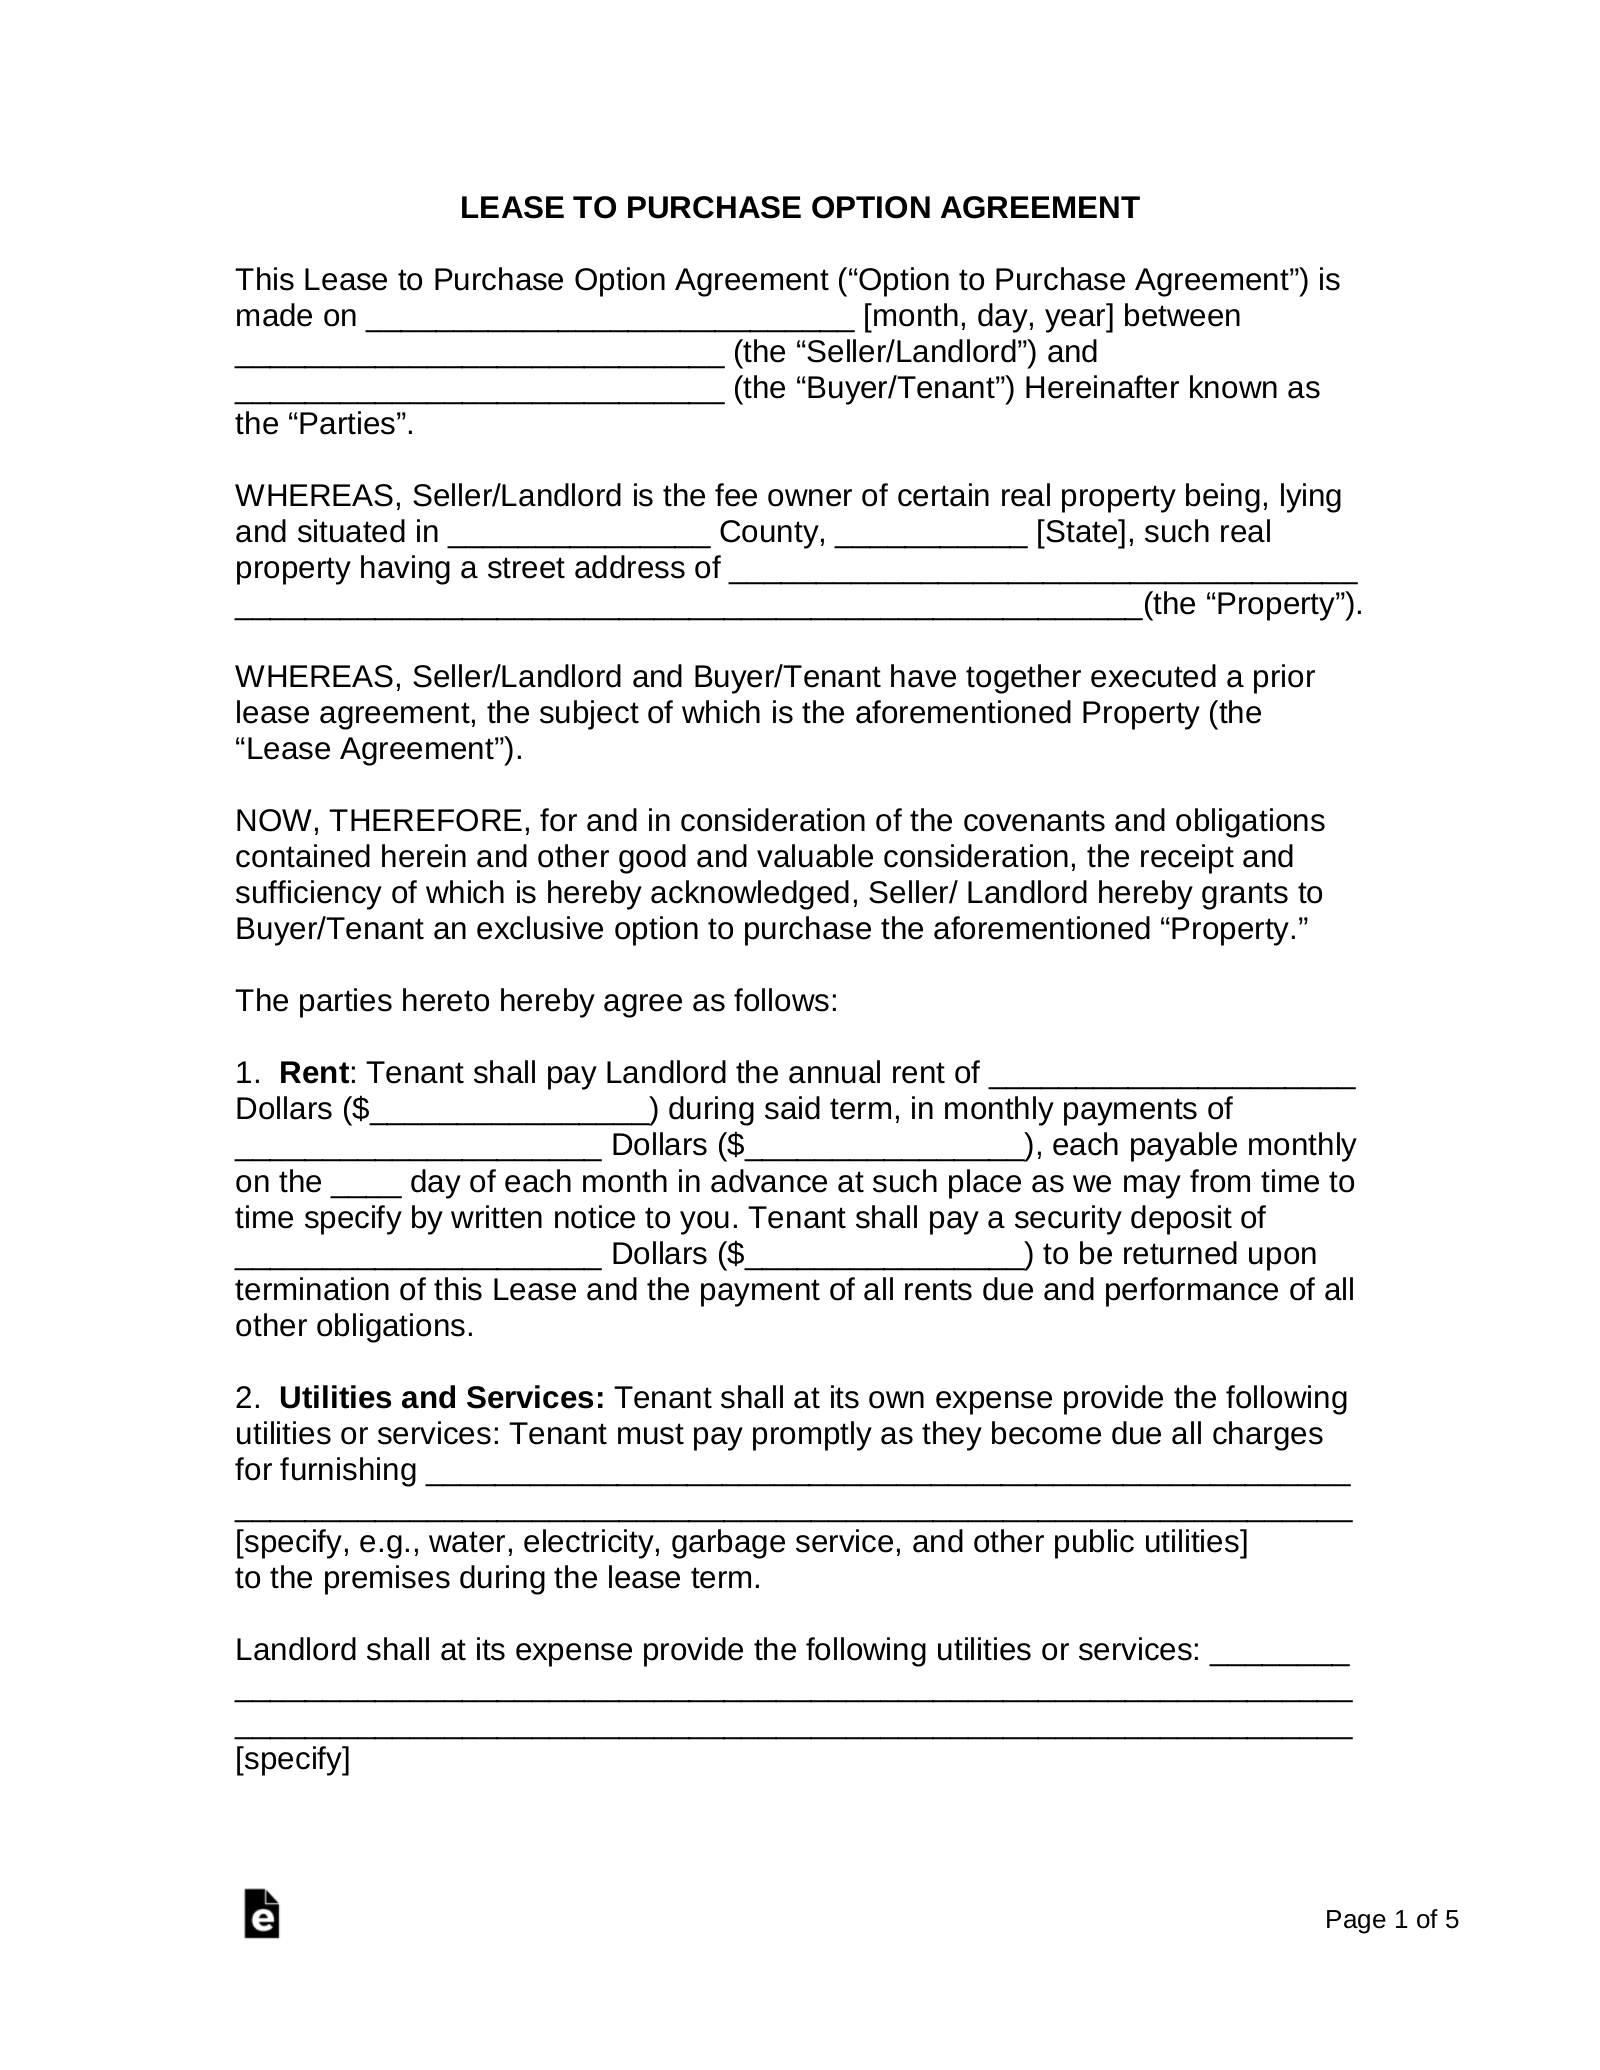
A lease-purchase agreement is a standard lease with an added option for the tenant to purchase the property. This arrangement is common for homeowners seeking to collect rent on their home and possibly sell to the tenant.
The purchase price is commonly pre-negotiated at the start of the lease term.
2 Types
- Option to Purchase – The tenant has the option to buy the property at any time during the lease period.
- Lease-Purchase – The tenant is obligated to buy the property by the end of the lease period.
By State
- Alabama
- Alaska
- Arizona
- Arkansas
- California
- Colorado
- Connecticut
- Delaware
- Florida
- Georgia
- Hawaii
- Idaho
- Illinois
- Indiana
- Iowa
- Kansas
- Kentucky
- Louisiana
- Maine
- Maryland
- Massachusetts
- Michigan
- Minnesota
- Mississippi
- Missouri
- Montana
- Nebraska
- Nevada
- New Hampshire
- New Jersey
- New Mexico
- New York
- North Carolina
- North Dakota
- Ohio
- Oklahoma
- Oregon
- Pennsylvania
- Rhode Island
- South Carolina
- South Dakota
- Tennessee
- Texas
- Utah
- Vermont
- Virginia
- Washington
- Washington D.C.
- West Virginia
- Wisconsin
- Wyoming
How Does a Rent-to-Own Work? (10 steps)
- Negotiate the Rental Arrangement
- Decide the Option to Purchase
- Check the Tenant’s Credit
- Verify the Tenant’s Income
- Sign the Lease with Option to Purchase
- Tenant Moves In
- Activate the Right to Purchase the Property
- Enter into a Purchase Agreement
- Attach Required Disclosures
- Close on the Property
1. Negotiate the Rental Arrangement
 Like any residential lease, it’s required that the parties come together and decide the following:
- Monthly Rent ($)
- Term
- Security Deposit (View Maximum Amounts by State)
- Utilities and Services
Once the above terms are agreed upon the main items of the rental portion are complete.
2. Decide the Option to Purchase
 After the rental portion of the agreement has been agreed upon the parties may come together to decide the terms of the tenant’s option to purchase the property. The tenant and landlord will negotiate the following:
- Purchase Price ($)
- Downpayment
- Term of Option
- Option Fee (if any)
The language of the lease-purchase will usually just have these terms with the condition of both parties entering in “good faith” to a purchase agreement.
3. Check the Tenant’s Credit
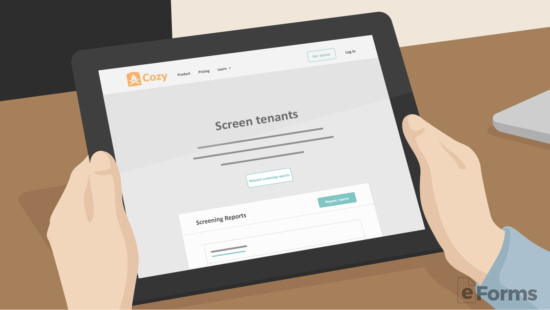 Like any other lease agreement, the landlord is recommended to give the tenant a rental application in order to obtain their personal information to perform credit, background, and criminal checks.
Background Check Service Providers
- MySmartMove.com – $35
- MyRental.com – $34.99
- RentPrep.com – $18.95
Sex Offender Search
U.S. National Directory – Use to perform a nationwide check of an individual or geographical area.
4. Verify the Tenant’s Income
 In most cases, the tenant is able to verify their income through:
- Bank Statement – Last 2-3 months
- Employment Verification
- Pay Stub – Past 2 weeks.
- Tax Return – Past 2 years
After conducting the aforementioned checks on the tenant the landlord should have an idea of whether to accept or deny the individual. If the landlord accepts the tenant, the parties should agree to meet.
5. Sign the Lease with Option to Purchase
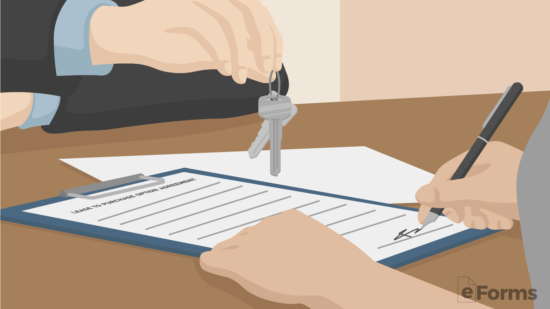 The landlord will be required to provide a completed lease with an option to purchase that is ready to be signed by both parties. In addition, the parties are to bring the following:
Landlord
- Access to Property – Keys, fabs, pin codes, etc; and
- Mail Access – If there is a mailbox on the property.
Tenant
- 1st Month’s Rent;
- Security Deposit (if any);
- Prorated Amount – If the tenant moves in before the lease start date; and
- Other Fees – If there are any other obligations due (e.g. pet fees).
6. Tenant Moves In
 The tenant may now move into the property. They will be responsible for moving in on the correct day and time in accordance with the property’s rules. If the tenant sees anyone else on the premises they should make sure to introduce themselves and get familiar with their neighbors.
8. Enter into a Purchase Agreement
 The parties should enter into a purchase agreement. The following items will need to be negotiated by the tenant and landlord:
- Financing Contingency – Is the purchase of the property contingent on the tenant receiving financing?
- Inspection Periods – Usually the buyer will have the right to inspect the premises by a certain date.
- Negotiate Defects – If there are any defects found in the residence the items will need to be negotiated by the parties.
- Perform a Survey – Ensure that the property lines are where the owner claims to be. In addition, it would help the buyer to obtain any tax maps from the local or county assessor’s office.
- Closing Date – This is the last day the buyer has to perform the transaction with the seller. After this date, the seller will be entitled to keep the earnest money.
9. Attach Required Disclosures
 Each State has its own required disclosure forms. In order to perform a “good faith” transaction, it’s important for the seller to inform the buyer of any repairs needed, defects, or any other problems with the property. Often times if the buyer finds out about a material defect after it has been inspected it may give them a bad taste in their mouth and wonder if there is anything else wrong with the property.
- Lead-Based Paint Disclosure – Required to be attached to the agreement if the property was constructed before 1978.
10. Close on the Property
 At the closing, the buyer will be responsible for making sure the funds are available. This is typically through a wire transfer that occurs before or at the closing with the title company verifying the funds are present. Afterward, the funds will be transferred to the seller and the buyer will have the deed signed over to them.
Once the closing is complete, the buyer will take the newly signed deed to their county recorder’s office. There will be a transfer fee required, this is split between the buyer and seller, and once recorded the property will be in the possession of the buyer.
Owner-Financing
It is common for a lease-purchase agreement to convert into a purchase agreement. The seller would hold the first (1st) mortgage, meaning if the buyer did not pay monthly amounts, the seller would have the first lien and right to re-possess the property.
Seller Benefits
- Collect a higher monthly payment;
- Only pay taxes on the interest collected, the principal amount is not taxed (only tax liability is capital gains if owned for more than 2 years);
- No paying real estate commissions; and
- Remain to hold rights to the property in the case of default.
Buyer Benefits
- Obtain ownership of the home;
- Write off the interest portion of the mortgage payment; and
- Can resell the property.

 In most rent-to-own lease agreements, an earnest money deposit or “consideration” is required. At this time, the landlord should be informed of the tenant’s intent to buy the property either directly or through the landlord’s agent.